Ok. Deep breath. Got a lot to cover today so I'll just start. (If you're new here, you may enjoy reading the "Starting Line" post here.)
My main objectives for this Project were:
- reduce my fabric stash
- learn how to free-motion quilt
- make every quilt/pillow in Simplify with my daughters
- donate quilts & pillows to help raise money for non-profit organizations
Let's see how I did.
1) Stash Redux - CHECK!
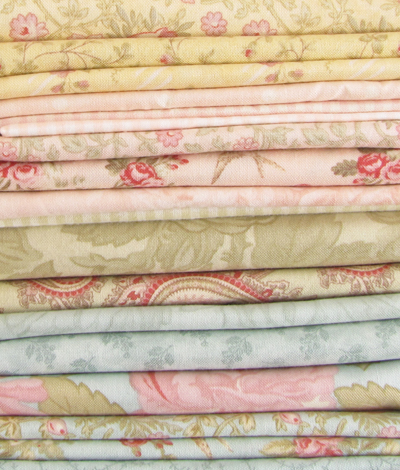
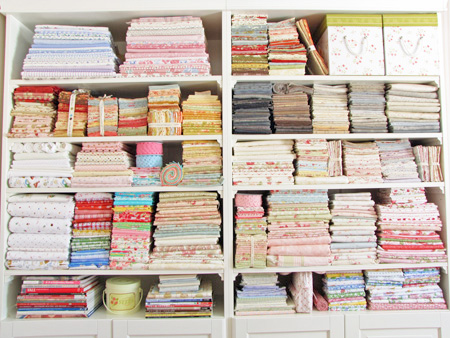
My "before" stash ...
 In terms of yardage & weight my stash lost:
75yds / 69m (holy crap!) and 27lbs / 12kg (wish I'D lost 27 lbs ...)
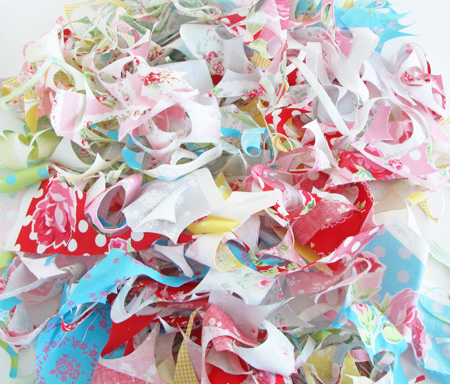
Here's what that looks like ...
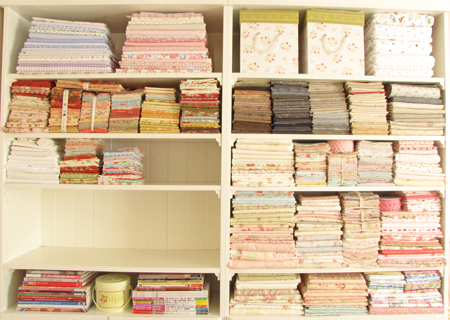
empty shelf space!!!
I know I wasn't supposed to buy any fabric (who was I trying to kid?). I should have qualified that with "to use for the quilts & pillows in the book". I was successful by that standard. However, ...
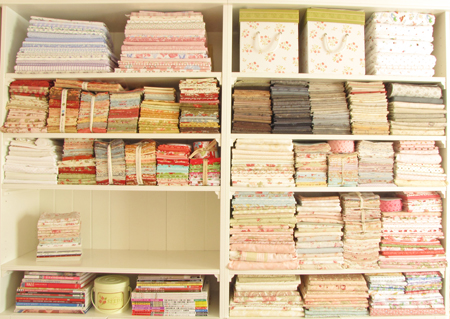 Now this TOTALLY surprises me. I had no idea there was this much space left! That should give you an idea of how messy my sewing room is most of the time ... told ya I had to clean up to take these pictures! ;)
I really thought I'd bought at least as much as I'd used up and maybe even more. I'm very happy to still have some space. It would be really nice to hang on to that "breathing room" and fill it with things like pictures and other pretty dust collecters. But knowing me, that empty space will be filled with junk in about 30 seconds ... ;) (Girl's gotta have SOME secrets!)
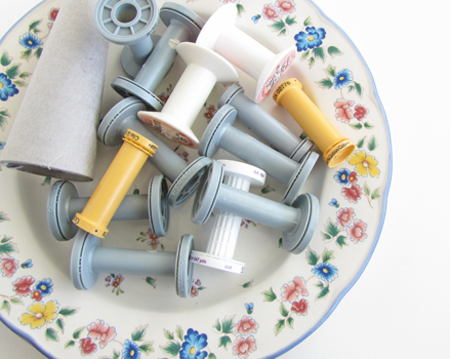
I also finished 14 full or partial spools so my thread drawer is a little tidier.
I went through 85 bobbins (yes, I kept track).
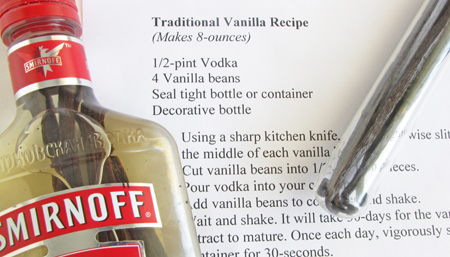
I broke 5 needles.
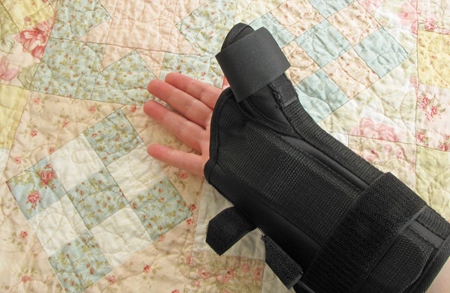
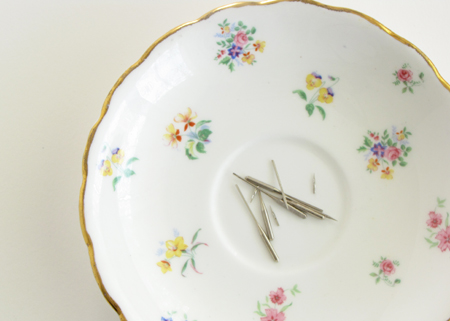 Mostly from doing this ...
 'cause I'm a career refuse-to-pull-pins-out-before-I-sew-over-them kinda quilter and am not likely to ever change (despite an emergency trip to the sewing repair guy a few years ago).
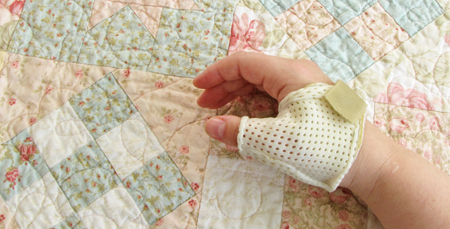
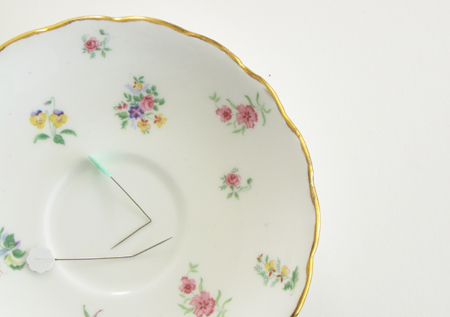
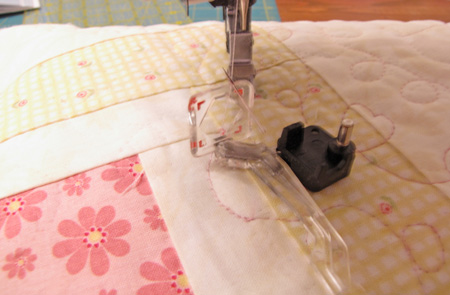
But a few from doing this ...
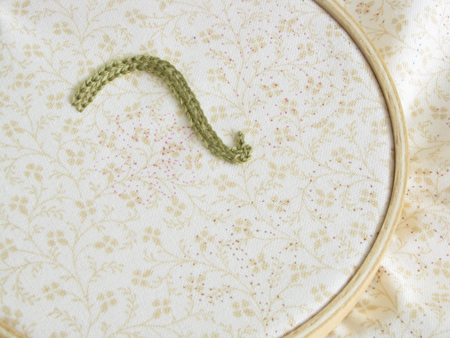
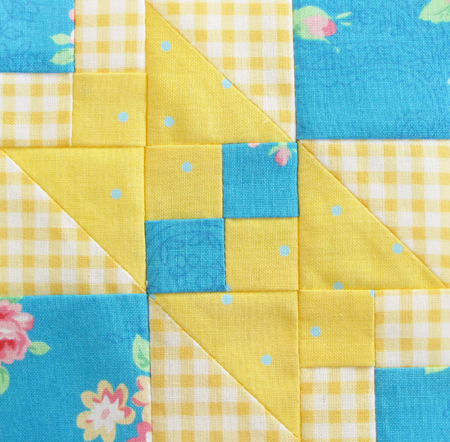
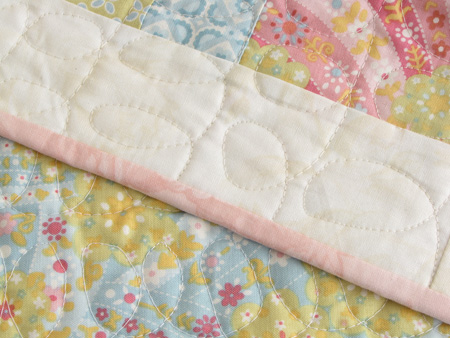
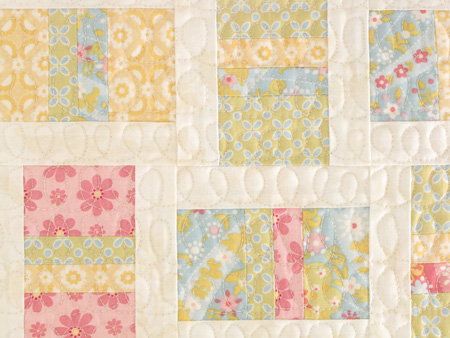
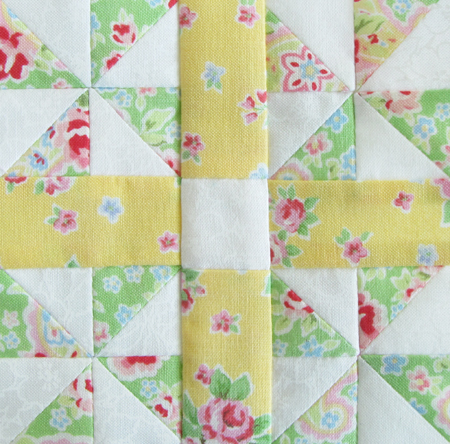
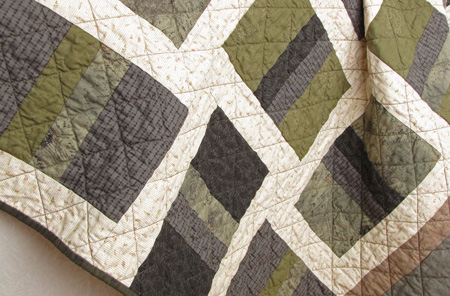
2) Learn FMQing - CHECK!
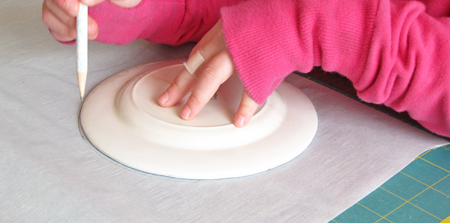
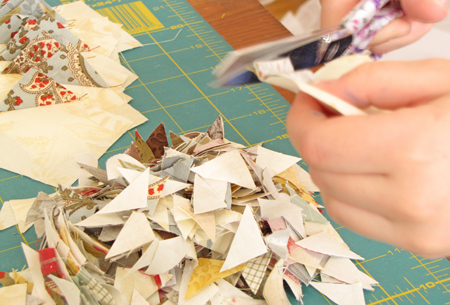
From this,
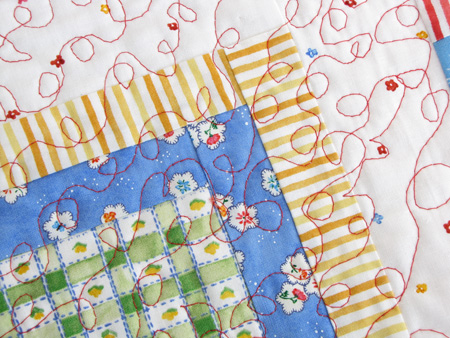
and this,

and this,
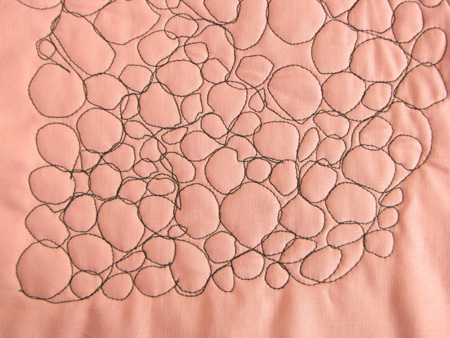
to this,
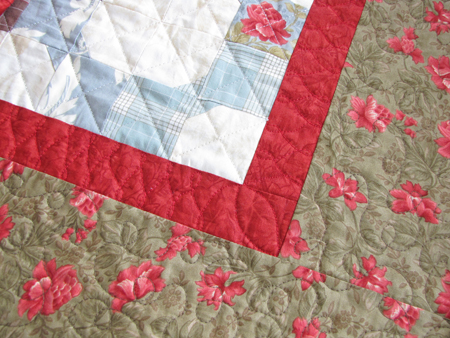
this,
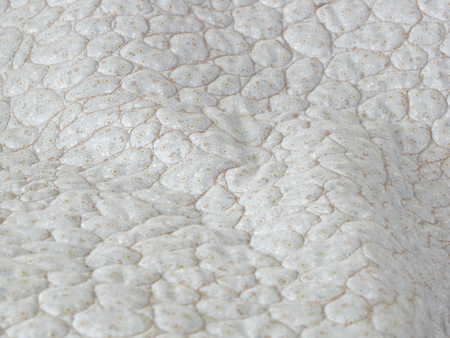
and this! It still freaks me out that I can actually DO this now! :)
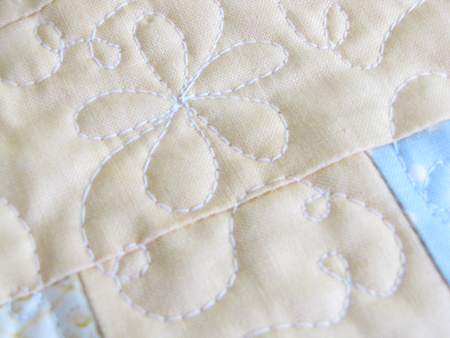
A word about FMQing. I'm not going to be obnoxious here and tell you that if I can do it, ANYONE can do it. I'm just going to say that I started this project with a strong desire to learn, and I practiced until I got it. Sounds hokey, I know. But I forced myself to work at it - and shamed myself into sticking with it by blogging about it!
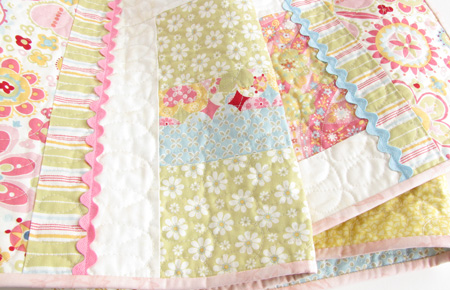
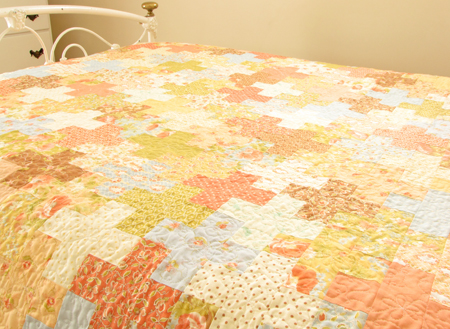
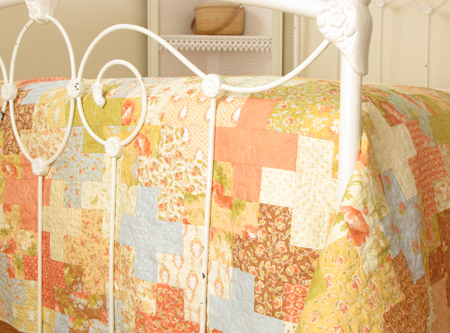
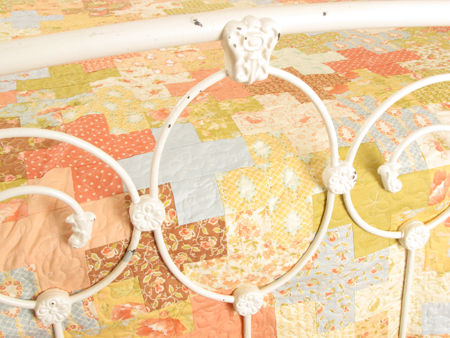
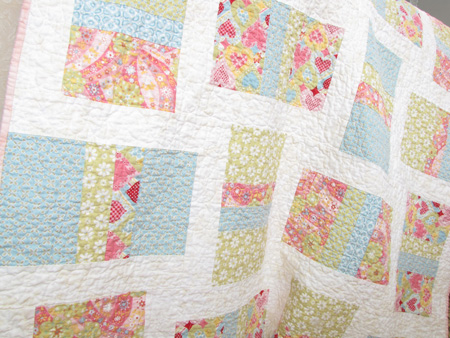
3) Make every quilt & pillow in the book with my daughters - CHECK!
I made 9 quilts and 4 pillows and my girls helped me with 8 quilts (fairsies math ...) We had so much fun and I'm super proud of them for humoring their mama ;).
4) Donate quilts & pillows to help raise money for non-profit organizations - CHECK!
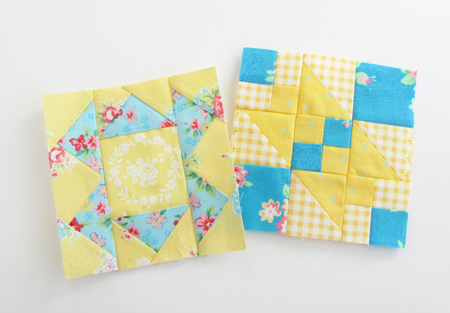
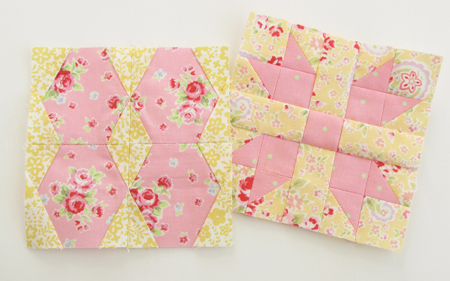
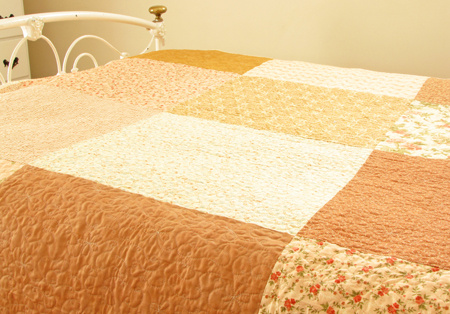
I donated these two quilts to my friend's literacy fundraiser. Together they raised $125.
 Next I donated this quilt top to "Quilts for Quake Survivors".
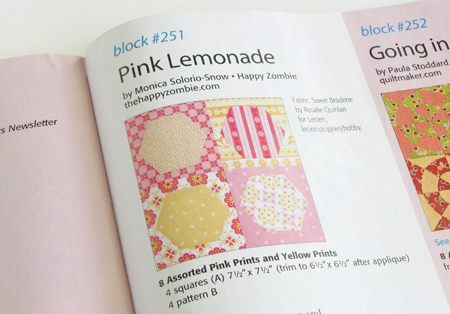
 I missed the deadline by like a day and didn't really know what happened to it until "Happy Zombie" Monica surprised the heck out of me with this post! How weird is THAT. I was blown away by that coincidence. :)
Still don't know what's going to happen with the quilt. But it will be used to make money for someone ... somehow ... I'll keep you posted.
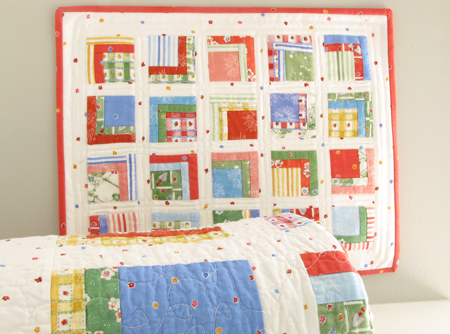
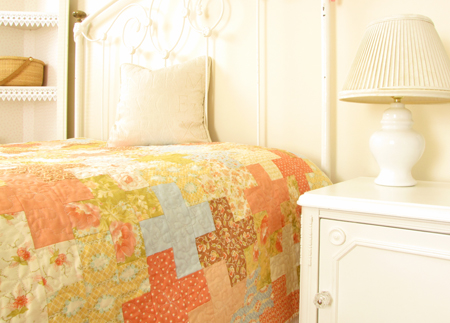
Finally, I gave this quilt & pillow set to a fundraiser for Orchestra Iowa.
 The silent auction event is in a few months. I'll let you know about that one too.
Well. I guess that's it ...
... or is it? Awh, come on. I wouldn't just end it like that, would I? ;)
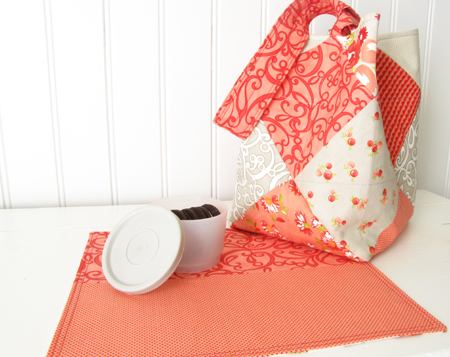
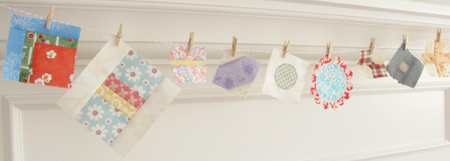
I've actually been keeping a "little" surprise for you. I had a "little" flash of inspiration waaay back when I was making the very first quilt for Project Simplify so I have a "little" encore of sorts for you.
I'll fill you in on Monday.
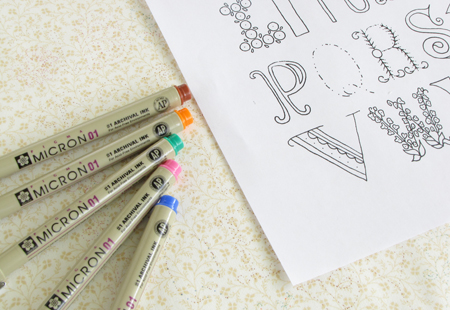
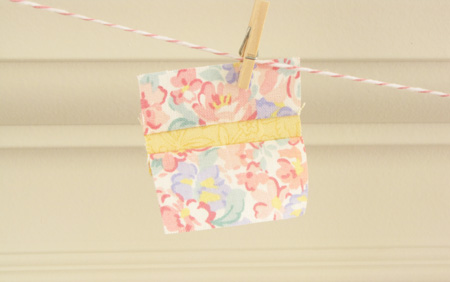
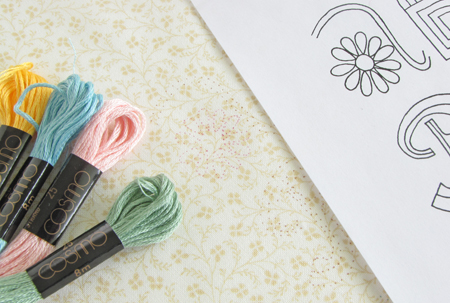
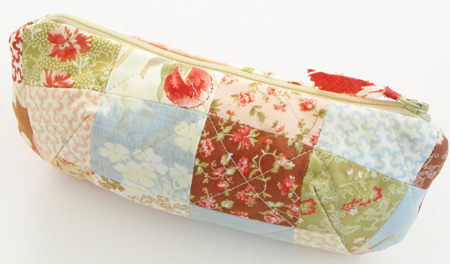
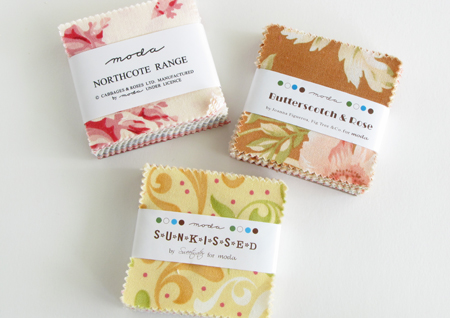
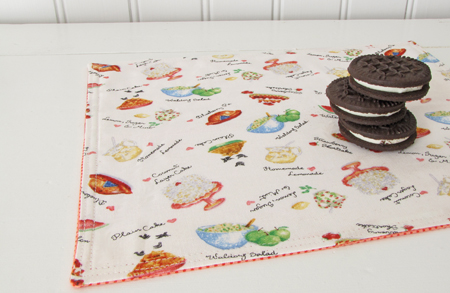
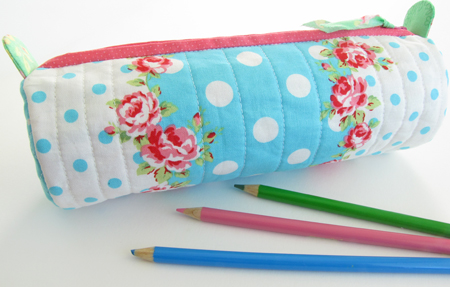
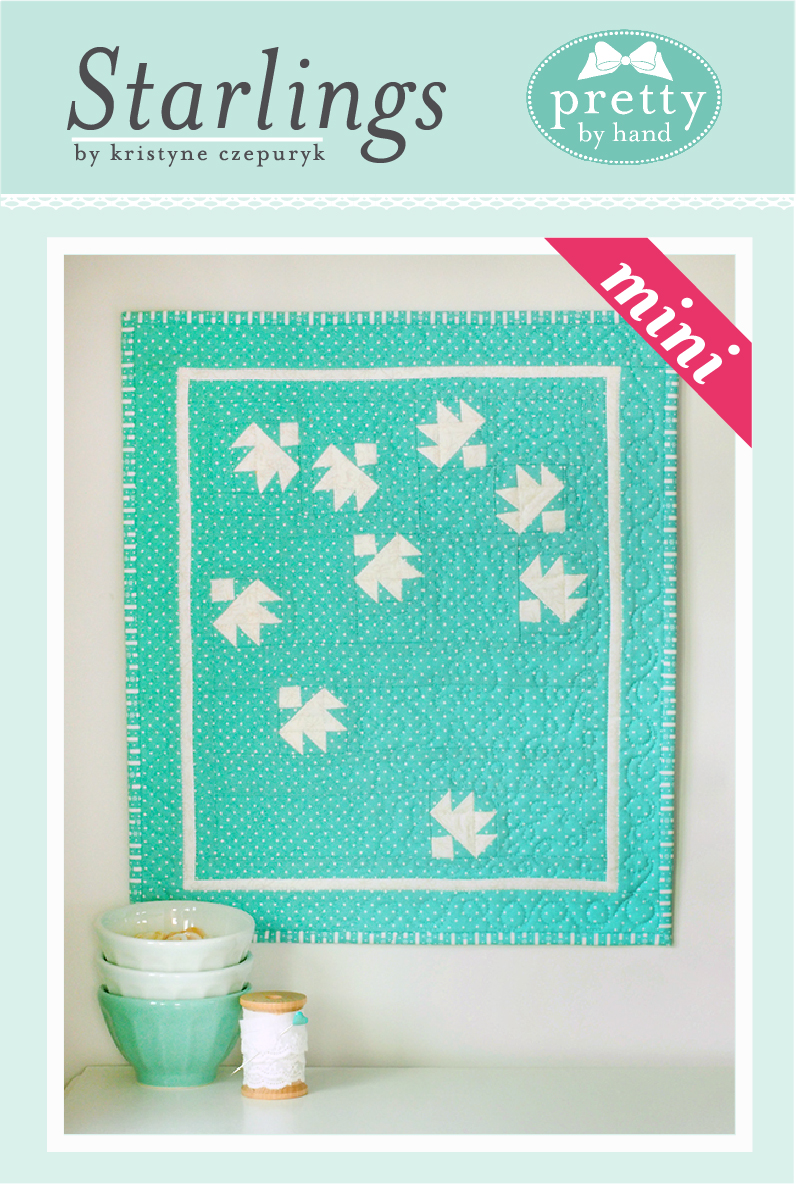
But it just might have something to do with these ...
Need a size reference?
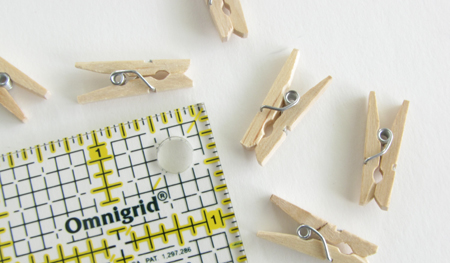 tee hee!


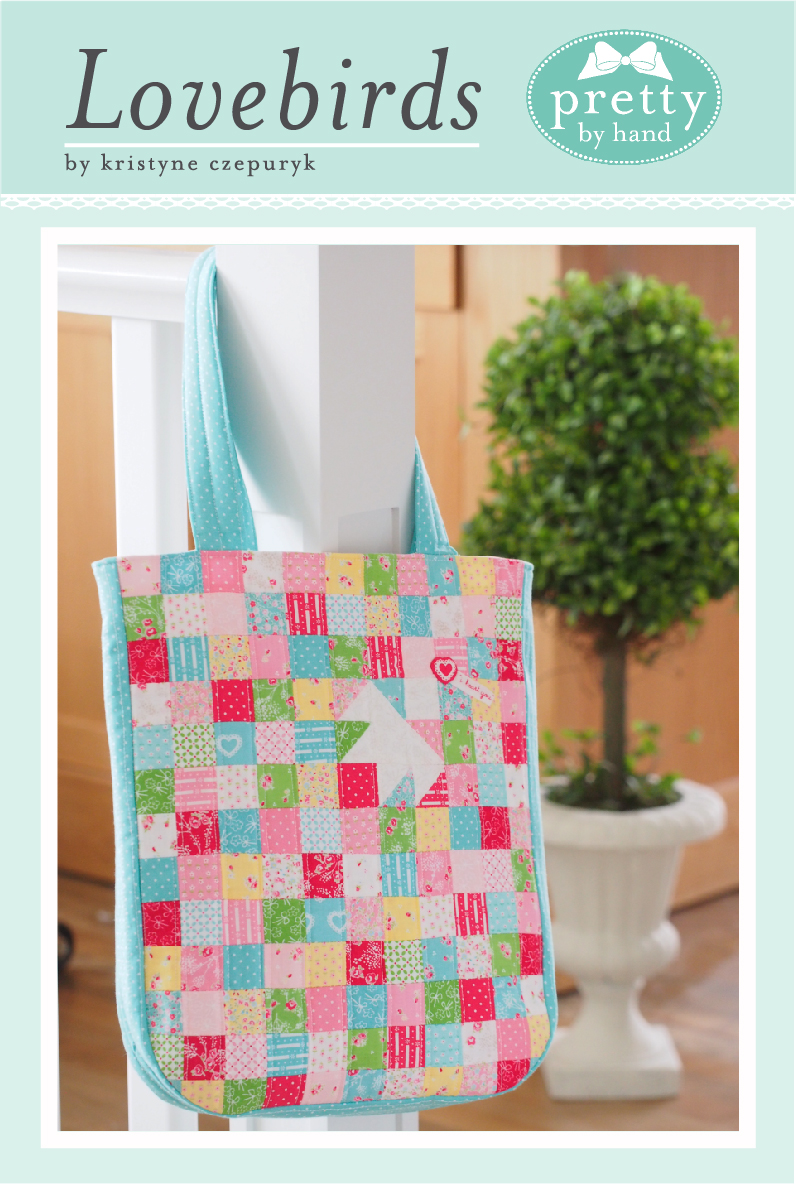

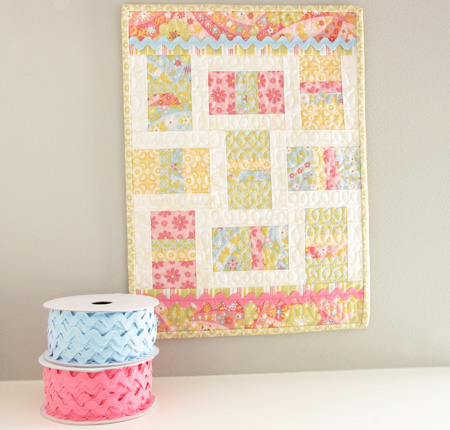
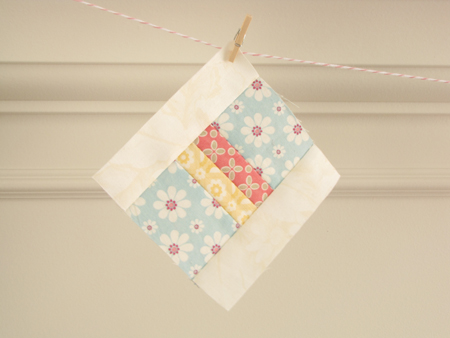
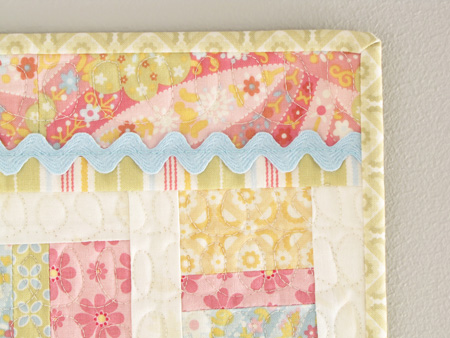
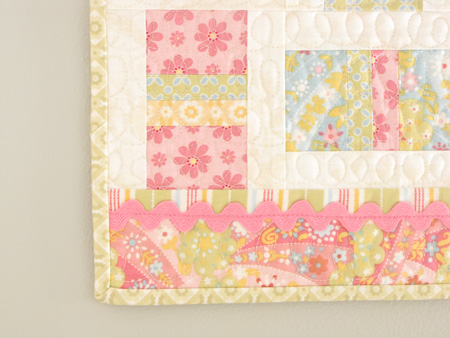
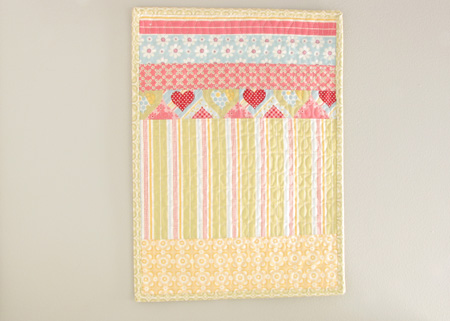
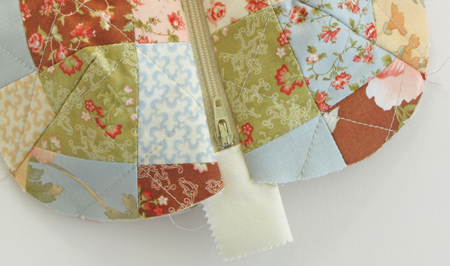
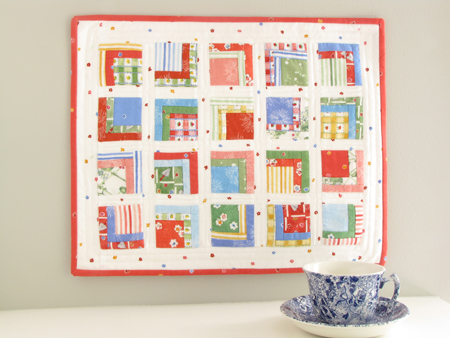
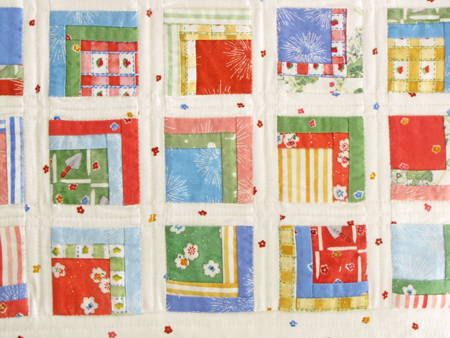
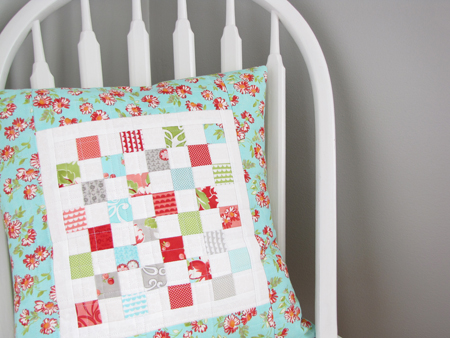
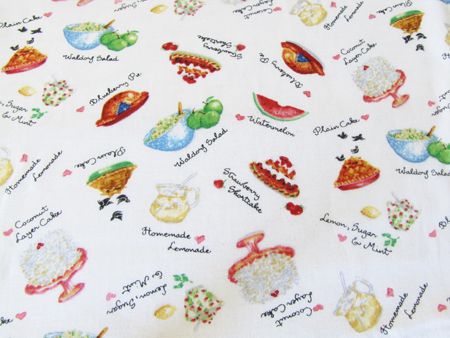
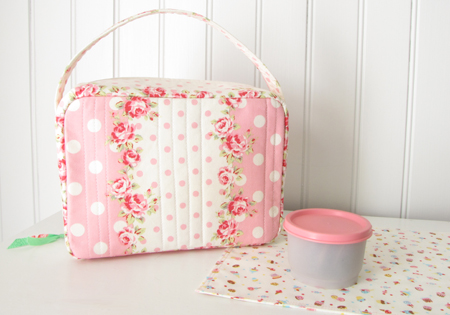
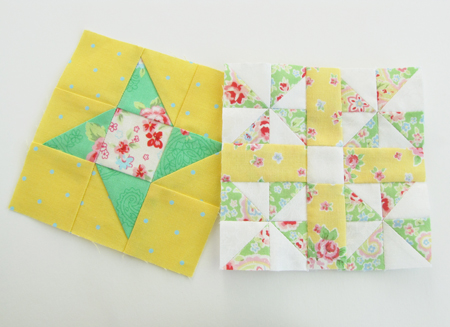
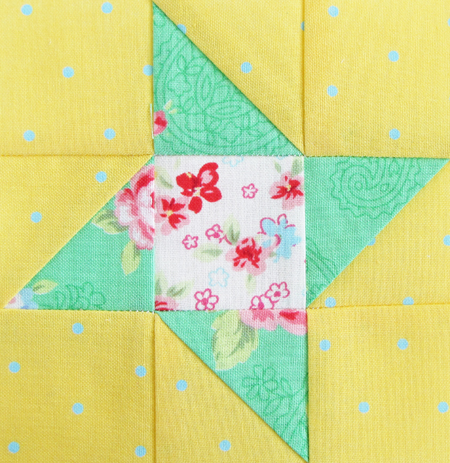
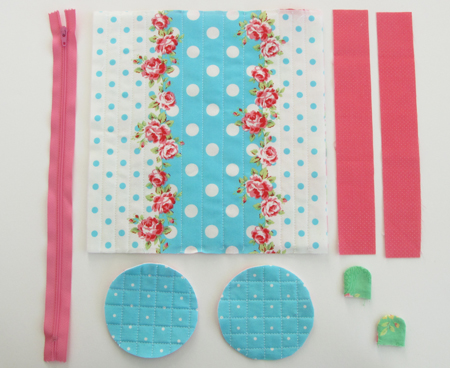
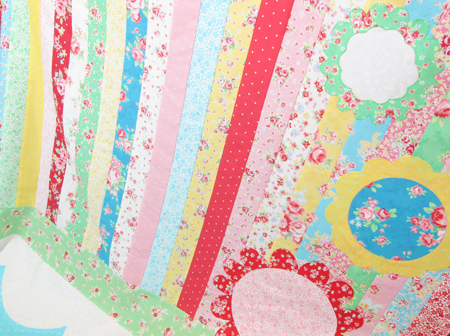
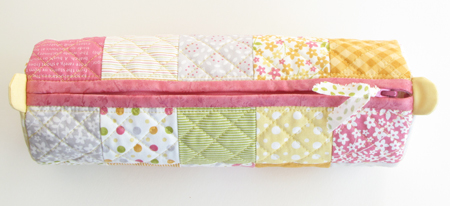
 My original plan was to make the same pattern three times using these mini charm packs - one for me and one for each of my daughters.
 But I changed my mind because ... well ... I just thought it would be a little more interesting for you AND me if I came up with different designs using these squares instead of making the exact same thing over again.
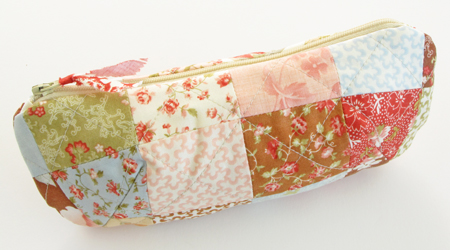
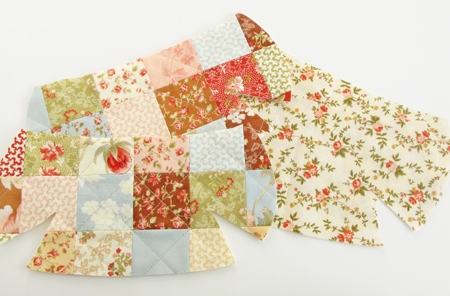
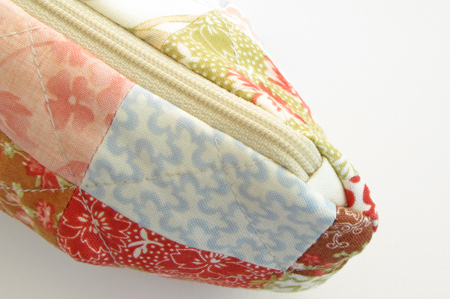
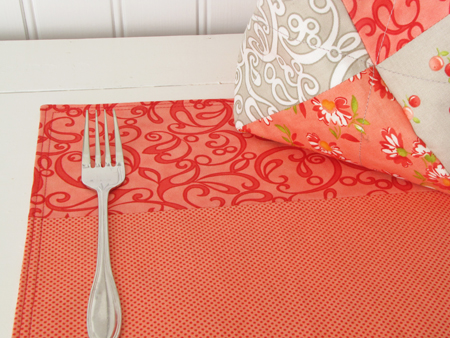
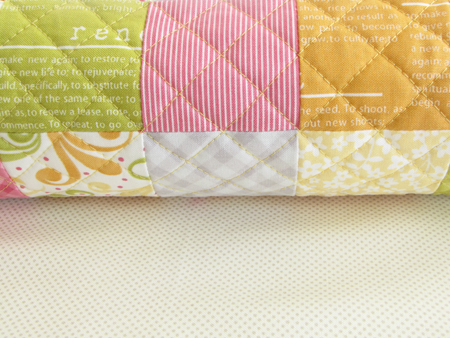
 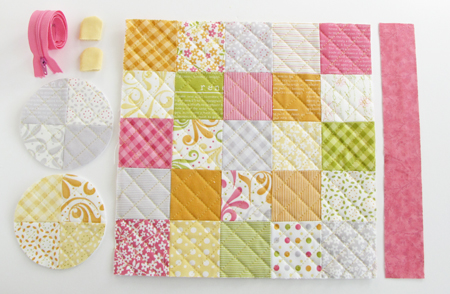 The mini charm pack came with 42 squares and I only needed 25 for the body. So to use up even more squares, I pieced the ends. LOVE how they look!
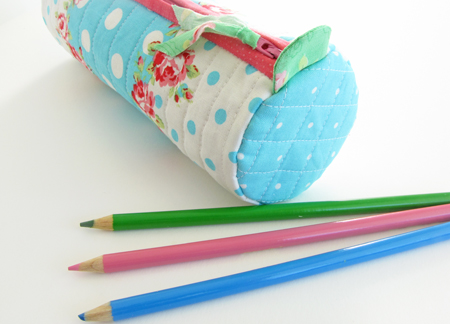
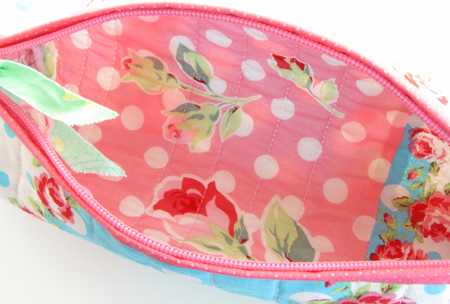
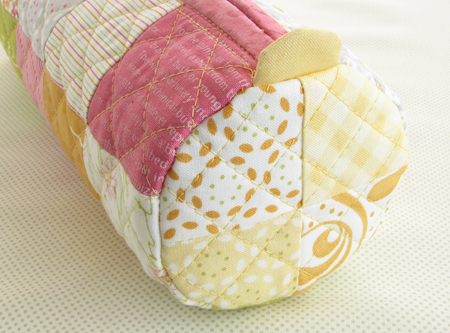
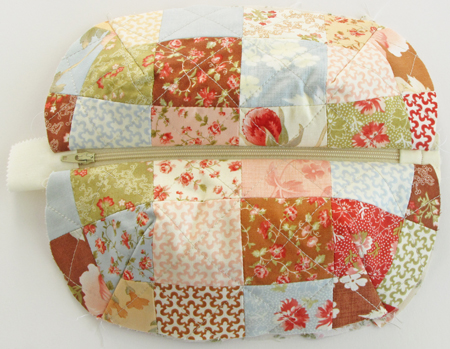
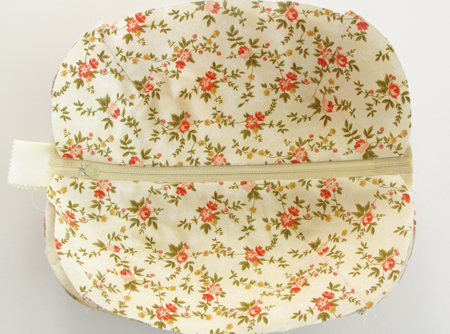
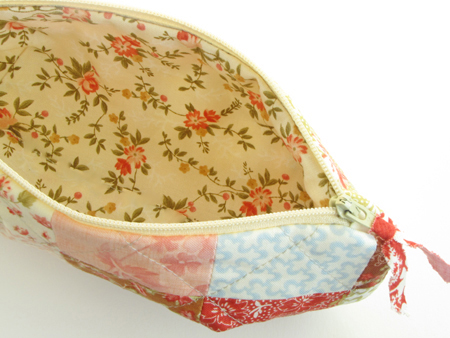
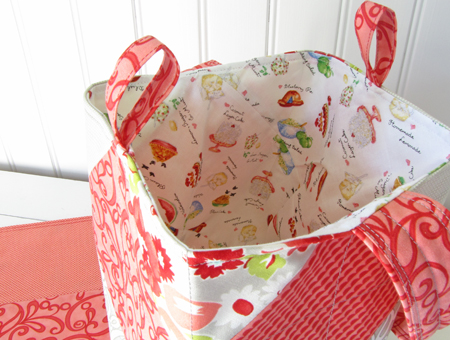
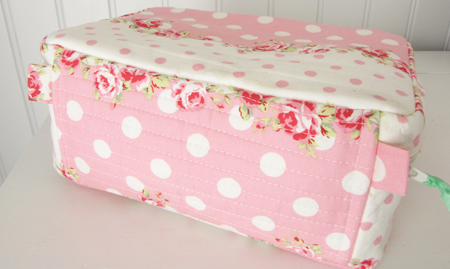
 Always have to make the inside pretty (Robert Kaufmann upholstery scrap).
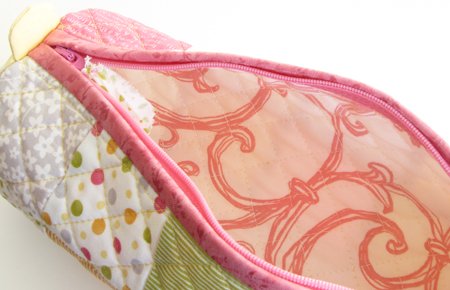
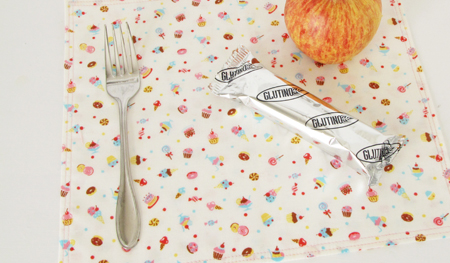
 My 8 year old has claimed this for ... what else ... ?
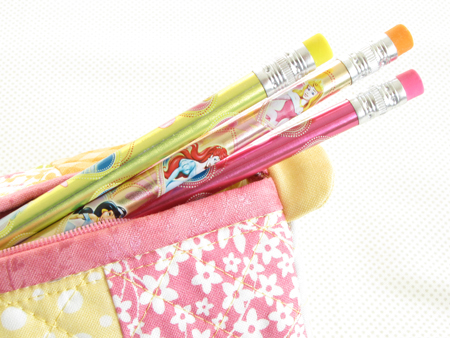
 Kristyne