Monday
Apr142014

it's not what you think

And it's not at all what I first thought either. 

My latest project started when I found this adorable cross stitch pattern on Pinterest.  Thought it might look nice stitched up in white on osnaburg ... 

... and then turned into an Eastery needlebook with a pretty little Japanese Liberty print and a bit of pink ruffle.

'Cause ... you know ... who doesn't need an Eastery needlebook, right?  ;)

But when the cover was assembled, the whole thing seemed a little too big for a needlebook.

However.

A few days earlier I had a big fight with my earbuds - again - after they decided to entangle themselves around literally every single object in my purse.  So annoying.

I'd been meaning to make myself an iPod case for a while so I guess it's true what they say about necessity being the mother of invention.

(I may have done a little happy dance when the cover turned out to be the e.x.a.c.t right size for an iPod.)

My "Rabbit on Scissors iPod case" makes me laugh.  It's not at all what I was planning to make, and no one would ever guess what was inside based on the cover. 

But it's super-dee-duper awesome now that my earbuds stay all nicely tucked inside their little pocket instead of trying to strangle my wallet with their rubbery, unyielding death grip.

*     *     *     *     *

And congratulations to Tina in Nevada who won the Simply Sweet Fabric giveaway. 

Friday
Apr112014

pink easter basket

Just felt like making something pink and pretty and rosy ... with a bow. 

Easter is the perfect excuse to do all of the above. :)

Thursday
Apr102014

polka dots 

They're just the best, aren't they?  I got mine from Sew Deerly Loved.  She still has a few colours available!

Monday
Apr072014

spring fabric giveaway

Ah, Spring!  The days are noticeably longer now and the sunshine makes such a difference, doesn't it?

So does pretty new fabric in Spring-inspired colours.

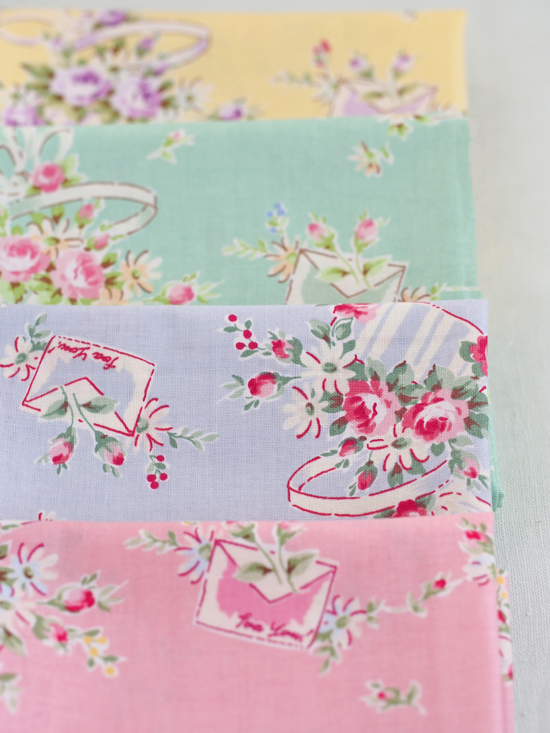
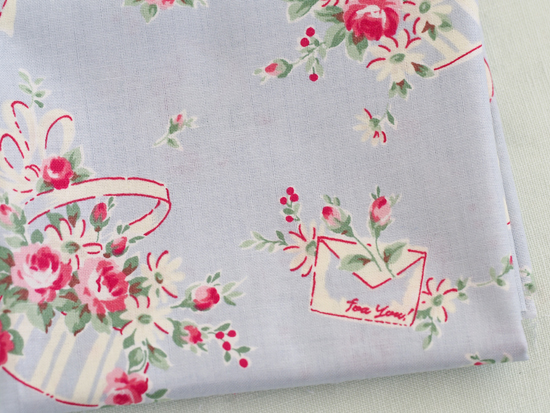
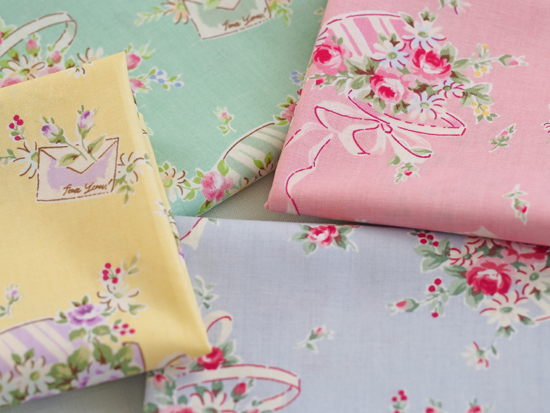
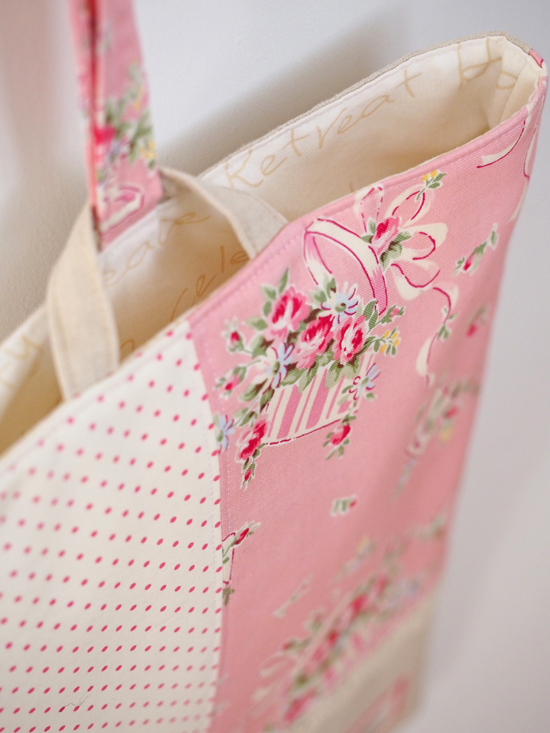
Simply Sweet Fabrics has done it again with these gorgeous new Atsuko Matsuyama fabrics.  I love love love this print with bouquets spilling out of hat boxes and little love letters. 

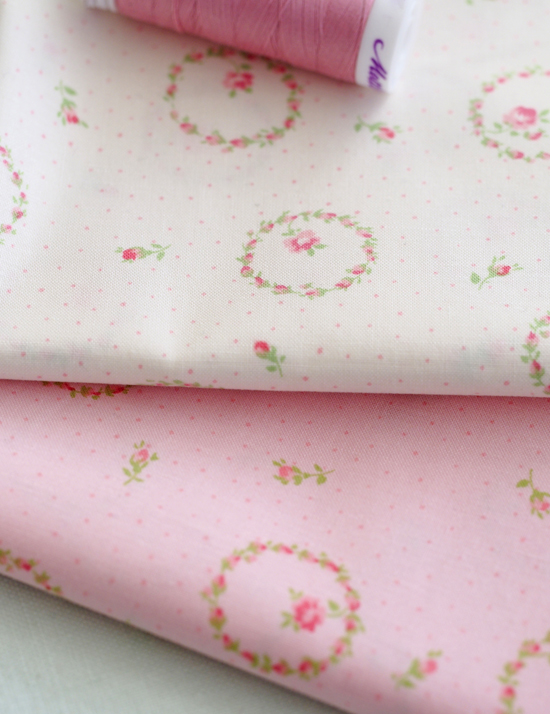
And these ... darling little wreaths. 

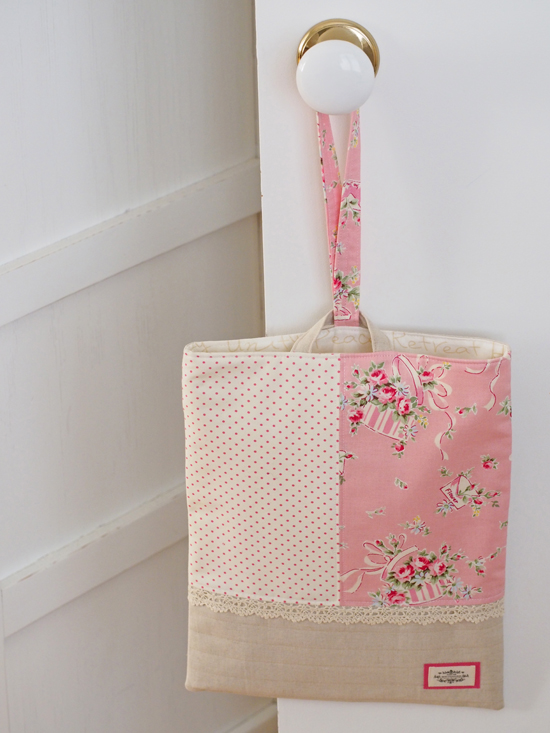
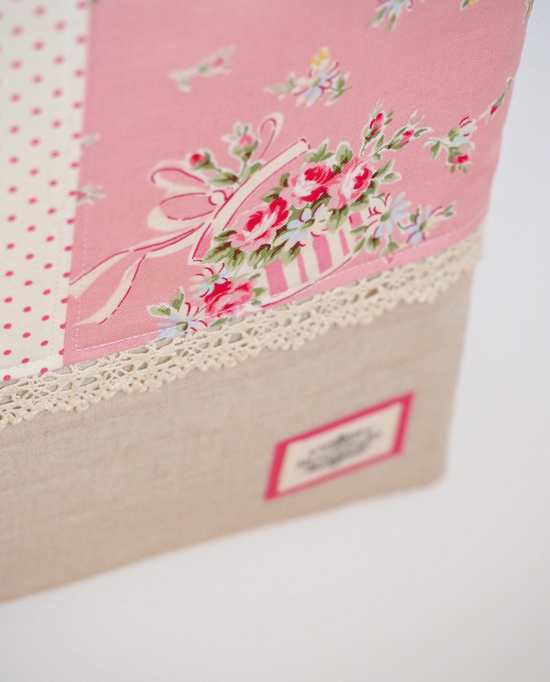
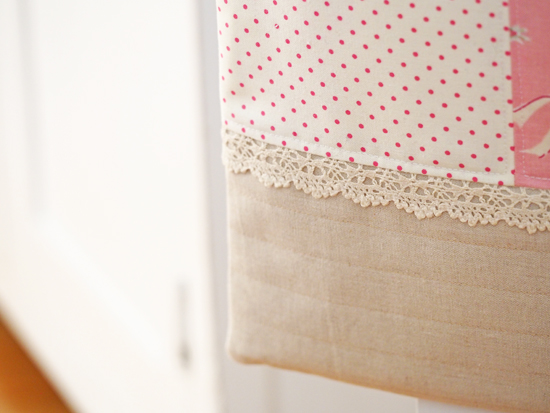
I decided to make a simple bag to show off the hat box print to it's best advantage.  Three fabrics (plus lining), a bit of lace and a label.  Done, done and done! 

I made this bag for my daughter's music books, but instead of walking the 10 steps from my sewing room to the piano to actually measure a book, I just used a craft book that was within arm's reach to make my template.  Unfortunately, this bag ended up just a smidgen too narrow for said music books.  Guess I'll have to keep this pink one for myself and make her another one.  It's just as well.  She prefers the blue.

Simply Sweet Fabrics would like to give one of you ALL SIX of these Atsuko Matsuyama fat quarters (these and these).  To enter for a chance to win, leave me a comment describing your most favourite/successful craft project ever.  This giveaway closes Sunday April 13th and I'll announce the winner shortly after.  Happy Spring!

Saturday
Apr052014

saturday morning sewing

I can be very productive on a Saturday morning when I only have until 11:00 am to make a birthday gift ... especially when I find a super addictive remake of a disco classic to keep me company. ;)

Tuesday
Apr012014

cotton tape label tutorial

I've been collecting these natural cotton tapes and leather labels from places like Etsy and my local quilt shop for a while now - ever since Miss Amy clued me in.  Can't seem to get enough of them.  They add such a nice, professional finish and a pretty little detail to just about any sewing project.

Here's how I like to use them.

First, just plain. 

  1. Cut the label.
  2. Fold and press the cut edges under.
  3. Apply a piece of fusible web to the back side of the label.
  4. Iron it in place onto your project.
  5. Sew around the edges with a straight or zigzag stitch.

Easy peasy.

To get a little fancier, I put a contrasting fabric underneath.  It frames the label and draws your eye right right to it.  I use the same fusible web process for both layers.


I also like using felt underneath instead of fabric.  And I like using my scalloped scissors (found them on eBay) for felt, although pinking shears or a straight edge look very nice.  (Again, same fusible web trick.)

Then there's this really cool stuff called Kraft-Tex.  Check your local quilt/craft shop or search online.  It comes in rolls in a few different colours (white, black, craft-paper brown ...).  It feels like a stiff paper but you can wash it - as in put it in the washing machine AND the dryer - iron it, cut it, fold it, paint it, stamp it, machine and hand stitch it ...  .  I use it to back/frame labels too. 

Take it a step further and fuse fabric to Kraft-Tex before trimming to keep the fabric from fraying.

And finally there are these leather labels.  I hand stitch them on with embroidery thread. 

So that's that.  Not much to it, really.  They take mere minutes to make.  And they're fun. :)

I found most of my cotton tapes and the leather labels here and here.

I've added this tutorial to my Tutorials link at the top of the page so you can find this post easily whenever you like. 

*     *     *     *     *

Congratulations to Dara, winner of the American Jane jelly roll from Green Fairy Quilts!  Thank you all for playing along.

Friday
Mar282014

tilda's fairytale wonderland

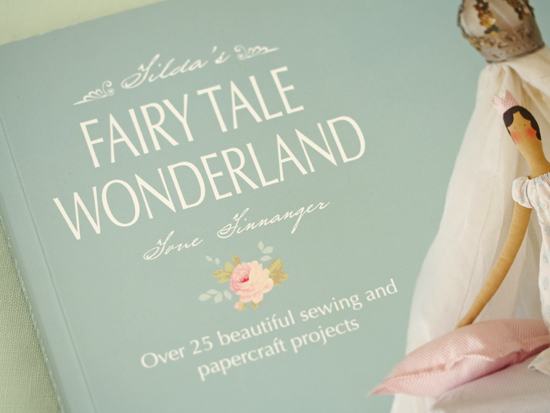
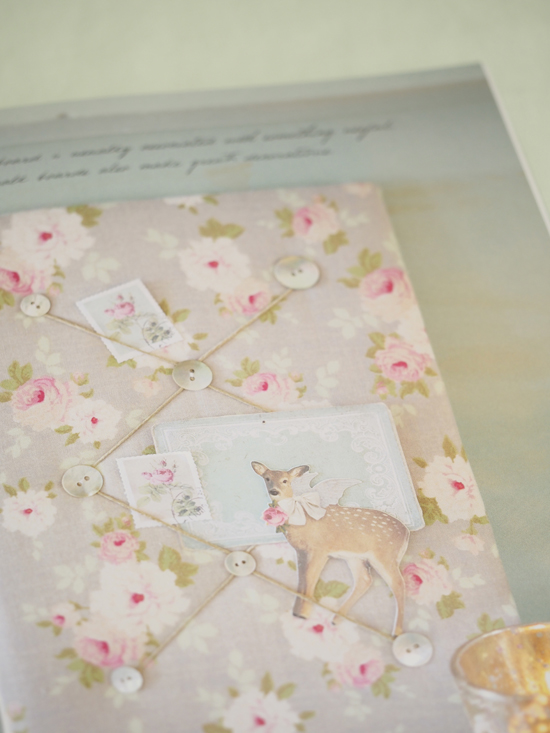
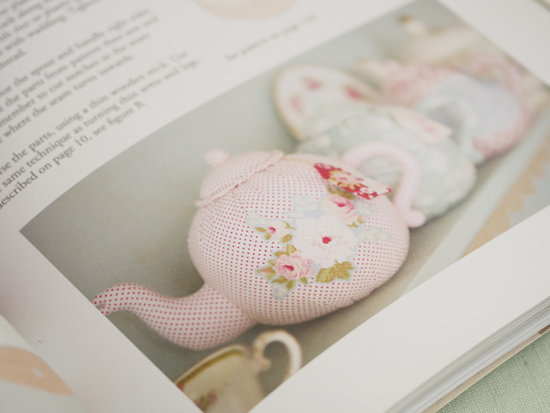
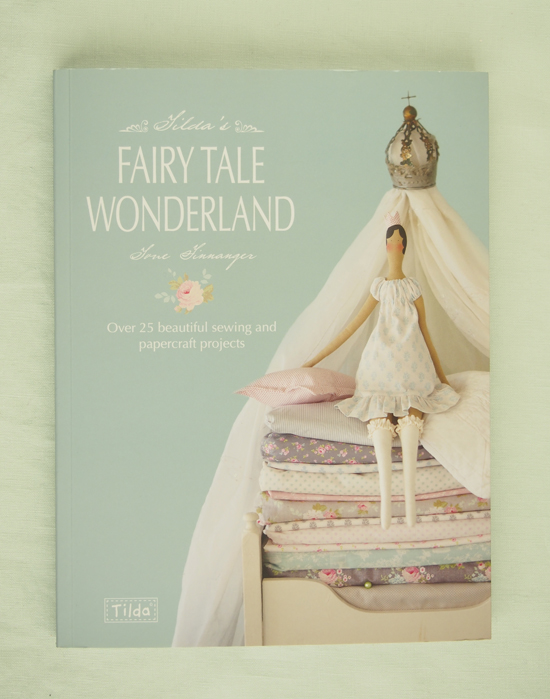
I've been a Tilda fan for a long time ... ever since a friend loaned me a copy of Sew Pretty Homestyle six years ago.  Do you know this book?  Do you own this book?  I love this book.  Tone Finnanger's newest publication, Fairytale Wonderland had me hooked the second I laid eyes on it.  This dreamy book is page after page of oh.so.beautiful eye candy. 

And I adore her fabric too, which I didn't have until very recently when a sweet angel sent me some (thank you H! xoxo).

Now all I need is our new house to be finished so I can decorate it with Tilda projects made from Tilda fabric. :)

Wednesday
Mar262014

nesting dolls

When my sister and I were little, our aunt went to Russia for a holiday and brought back a matryoshka doll as a souvenier for us.  I loved it ... taking it apart, lining up the dolls in order, studying the designs from more intricate on the larger ones to very simple on the teeny tiny one, putting them back together.  But my favourite part was gently twisting the seam until the pattern matched.  E.x.a.c.t.l.y.  I could not put them back in the toy closet until they were perfect.

However, we also used them for tea parties ... as in we used them as drinking vessels.  The unprotected wood on the inside didn't like that very much.  But I've loved matryoshka dolls ever since.  So much so that a few years ago I gave them to my girls for Christmas.  Every once in a while I'll take it apart and put it back together.  Just for fun.  Just because. 

Cheap therapy. ;)

So a few months ago I spied this cute matryoshka doll cotton tape in a local shop.  When I got it home I wondered what in the world could I make with it.  Nothing came to mind right away so I set it aside ... then this simple zakka-style idea took shape.  I'm sure one of my daughters will claim it soon enough and fill it with girly treasures.

Friday
Mar212014

last one ... for now ... maybe

Ok.  I think I'm done with this Pin for now.  I heard your requests for a template and I'll try.

I also heard your requests to show you how I made the Eiffel Tower label.  I'll write a post about that soon.

Hope you have a fantastic "Spring" weekend, wherever you are.  I'll be trying to ignore the snow.  Yes.  I know.  Serves me right for living in Canada. ;)

*     *     *     *     *

Congratulations to Treny Wildeboer and Sherry Guitard, winners of the Little Blessing Pink Ribbon kits from Shabby Fabrics!

Monday
Mar172014

more pinterest fun

Here's my third Pinterest pencil case.  I still have one more to make for my other daughter. :)

Friday
Mar142014

another book cover

Happy Friday Everyone!!!

My older daughter is pretty easy to please.  My little one, however ... she's much more opinionated about things and has very particular likes ... and dislikes.  When it comes to my fabric stash, her dislikes far outweigh her likes - which makes me wonder if someone accidentally gave me the wrong baby in the hospital - but whatcha gonna do?  She is who she is ... cute as a button and precocious as all get-up.  Wouldn't change her for the world.

I wanted to make her a book cover that would both surprise and please her, but I didn't think I could do both successfully.  So I forfeited the surprise part, showed her the purple cover I'd made for her sister and then asked her for input on fabric and design. 

Somehow we landed on cherries as the focal element.  When I was drawing them, she insisted the leaves point upwards.  I asked her why.  She explained that they look sad if they point down.  I would have never in a million years thought of that, but I think she's right.  And now I will always know if cherries are happy or sad when I look at the leaves.  And then I will think of her and how much I love her.

I also stuffed a little wad of batting inside the cherries to make them just a wee bit "poofy".  I knew she'd like that too. :)

She loves it.  I love it.  Win/win!

PS:  I was asked about the purple book cover I showed earlier this week and when I did the top-stitching.  I quilted the cover first and THEN appliqued the design on top for both book covers.  I don't have a problem with either of having the top-stitching showing through the appliqued pieces.

Fabrics: 
Pink Dot:  PamKittyLove
Green Check:  Lecien Petit Fleur
Stripe and Back Floral:  Lecien Old/New 30s (from a few years ago)
Pink Solid:  Kona (don't know the colour exactly)

Sunday
Mar092014

for the love of reading

This past Christmas was the first time I failed to put handmade gifts under the tree for my daughters.  Of course they are always very forgiving of their mother, but I was quite upset with myself.  So I worked hard in the days following to make up for it.

Part of the reason I didn't make anything was because I didn't know what to make.  Sometimes I get so crippled with indecision.  My brain goes 'round and 'round thinking, "I could make this, or I could make this, or I could make this ..."  Ugh.  So frustrating.  But it was a novel - from Santa, ironically enough - that inspired this book cover for my 12 year old. 

I'd never made a fabric book cover before - I was quite proud of myself for thinking to add a built-in ribbon bookmark - and it was refreshing to exercise my often neglected hand applique skills.  I'd like to tell you that the half-dresdan was purely a design choice.  But if I'm being perfectly honest, it was a calculated decision - it only took half the time to make and applique in place.  ;)

She loves it.  It turned out so well, in fact, that I went to work straight away on the second one for her little sister.  I'll show it to you soon ... when she remembers to bring it home from school.

Friday
Mar072014

little blessings giveaway

One of my favourite online sources for pretty fabric - Shabby Fabrics - has an adorable Block of the Month Club of wall hangings called Little Bessings.  Each month’s block is available as a kit, a pattern or part of the 12-month club. (Advantage to signing up for the club is that you receive free shipping worldwide.)  The club started in December but you can still sign up for it.

The kit includes these awesome laser cut applique pieces.  If you've never used laser cut applique pieces, I recommend giving them a try.  They make assembly precise and super quick.  If you like machine applique you will love these - no tracing, no cutting, no pinning ... none of the usual fussing about with all that regular piece preparation stuff.

I had my little Pink Ribbon banner put together in an afternoon and then hand stitched the binding in front of the tv that evening.  Done, done and DONE!

This Pink Ribbon design is not part of the 12-month club but is available individually as a kit or pattern.   And 100% of the proceeds from this design are donated to breast cancer research.

Now I have two chances for you to win this sweet little Pink Ribbon kit.  Leave me a comment (not an email) stating why you'd make the best recipient and then also tell me what you would do with it if you won (make it, keep it, gift it, donate it ...).  The first winner will be selected by a random number generator and the second winner will be chosen by Shabby Fabrics based on the comment.  International entries are welcome!

If you have any questions or would like more information about Shabby Fabrics fundraising efforts, please contact jessie@shabbyfabrics.com.

This giveaway ends Thursday March 13th and I will announce both winners the following week.  Good luck to you all!  Happy weekend. :)

Monday
Mar032014

what do you get when you cross pinterest with pink strawberry fabric?

After I made the first pencil case with this Pinterest photo tutorial, I adjusted my template and tried again.

Perfect!  I really like how the binding sits.

But do you think that when I showed my daughters they said, "Oh Mummy, that's really pretty!  But we have absolutely no interest in having our own so please do not make one for each of us."?

You know where this is going, don't you.

*     *     *     *     *

Congratulations to Linda Halcomb, winner of the macaron kit from The Cloth Parcel!

Thursday
Feb272014

a zakka needlebook

Sigh.

Finally!

I finally made myself a needlebook. 

Why do I wait so long to make things that I really want to make?  I dunno.

When my dear Amy posted her needlebook tutorial a few years ago I fell head over heels in love with her design.  And I'm not the only one because they popped up all over blogland, Flickr & Pinterest.  I don't think there's a single Needlebook Pinterest board that does not have at least one book inspired by Amy.  My favourite thing about them is the way she does the inside.  Seriously cute. 

In fact, it was the lovely tape measure ribbon a friend gave me (Hi Greg!) that inspired my colour choices.  As you can see, that tape is pretty much the only colour because after several tries to match/coordinate it with fabric from my stash, I realized it wanted to be the star attraction of my little book.  So I went with a very neutral backdrop of linen, pearl & white.

By the way, I totally cheated with the buttons.  I wasn't in the mood to sew them on neatly so I simply wrapped floss thru the holes and then glued the faux-stitched buttons in place.  Shhh.

So.  Have you made an "Amy" needlebook yet?  If not, you totally should.  Perhaps this weekend?

Tuesday
Feb252014

curves pouch

This little pouch (measuring 5 3/4" x 6") was a delight to make from the first stitch to the last.  It's another Yoko Saito project from her 120 Original Embroidery Designs book - which is now available in English!

I've made many pouches and cases over the years, but the construction of this one intrigued me, especially this type of zipper installation which I'd never done before.  Can't say it's my favourite method - not a fan of hand-stitching a zipper in place - but it does make for a very pretty finish.

I was proud of myself for using some of my best fabrics for the back side AND the lining (I often use my "I'm not so in love with you anymore" fabrics for linings, but not this time.)

And I cannot tell you how happy I was to have finally found a use for that little pink ruffled trim.  It's been in my stash for ages.  In fact, you can see it in my banner photo up top there - it's that little pink rolled up thing that is only partly visible on the right side.  I took that photo 3 years ago.  :)

Sunday
Feb232014

macaron tutorial & giveaway

So.  How long have I been meaning to write a tutorial for this cutest ever little macaron kit?  Too long.  But I finally got down to business and wrote it because The Cloth Parcel wants to give a kit away to one of you!  I'm very excited about this. :)

Ok.  For starters, this kit is cute cute cute.  I bought four for myself a "while" ago.  This is the second I've made and now I can hardly wait to make the other two.

Here's what comes in the kit:

You will also need a sharp needle with an eye big enough to thread 2 plies of embroidery floss and thread scissors.  I also recommend white embroidery floss, but it isn't necessary.

The kit comes with instructions, but they are not in English.  The graphics are pretty clear, but if you need a little more explanation, this tutorial will help. 

One other thing - this macaron is assembled entirely by hand.  All the sewing is done with the colored embroidery floss that comes in the kit.  I always separated one ply of floss, folded it in half, threaded the ends and knotted the loop for all my sewing so I stitched everything with 2 plies (one ply doubled).

Step 1:  To make the first lid, sew a running stitch around the edge of one LARGE felt circle. 

Gather it slightly. 

Divide the wad of stuffing in half.  Set one half aside.  Place the other half of the stuffing onto the cupped felt circle. 

(Note:  If you want the inside of your macaron to be a little puffy, don't use all of the stuffing in this step.  But I like the outside of my macaron to be super puffy so I used all of my stuffing for the outside.  You can always cut a few little circles from scrap quilt batting to fill the inside hollows, if you like.)

Then place a white cardboard circle on top of the stuffing.  Gently pull the running stitch until it is snug.  Tuck the stuffing under the cardboard as best you can.  Secure the running stitch.

Make the second lid.

Step 2:  To make the zipper into the circle shape, first mark the seam line. 

The instructions say to stitch the seam 5mm from the teeth clasp. 

If you work in inches, your seam should be a generous 3/16" from the teeth clasp. 

THIS MEASUREMENT IS VERY IMPORTANT (she said speaking from experience).  If your seam allowance isn't just right, the zipper will not fit properly.

I marked my stitch line with a pen (which will not be seen).

Pin the ends of the zipper (right sides together) and then following the stitch guide in the instructions, sew the ends of the zipper together with a backstitch. 

NOTE:  This step is where I would recommend using white floss.  It's not necessary, but it does make your seam invisible from the outside.

Step 3:  Sew a running stitch along both sides of the zipper and gently gather them. 

Step 4:  Slip stitch one lid to each side of the zipper.

Note:  The instructions say to stitch the zipper 3mm (or 1/8") from the teeth.  If you look carefully at the zipper, you will see a woven pattern.  I've drawn a mark along the stitch line.  Try to sew on that line.  And you also want to match up the stitch line on the zipper with the edge of the cardboard circle inside the lid.  You can feel it easily with your fingers.  I know this sounds like a super fiddly thing to do, but it will make a difference in the finish. 

Step 5: Slip stitch one small felt circle to the inside of one lid.  (This is where you can add a bit more stuffing if you like.)

Tip:  Fold the teeth back towards the outside to make it easier to sew.

Repeat for the other side.

Step 6:  Attach the beads and ribbon. 

You're all done!  Super cute. :)

I'm going to use my macaron as a scissor fob.  It's the perfect size to hold a bobbin of thread for binding, English paper piecing, hand quilting, ... ... ...  Plus the colour of the felt matches some of the flowers on my scissors.  I know you get how awesome that is!

I will put a link to this tutorial in the Tutorials & Free Patterns link in my navigation bar at the top of this page so you will always be able to find it.

If you'd like to win a macaron kit, please pop over to The Cloth Parcel by clicking here to see all the available colors for this kit.  Then come back here and leave a comment (not an email) telling me which macaron color is your favourite.  This giveaway closes Sunday March 2nd and I'll announce the winner Monday the 3rd.  Good luck to you!


Friday
Feb212014

pinterest + pamkittypicnic = happiness

Do you ever accidentally waste like a colossally huge amount of time find cool ideas on Pinterest?  I do. 

One of the cool things I've found quite a while ago is this pin - a Chinese photo tutorial for a pencil case.  I guess a lot of people are as attracted to it as I am because I see it a LOT. 

It looks like a cute, easy, fun little pencil case, right?  So I thought I'd give it a try.

Not bad. :)

However, what you don't see here is that I had a problem at the start ... no template.  The body of the case is an odd shape with curves and cut-outs.   And unlike this other Chinese Pin Tutorial I used a few weeks back, this one has no measurements at all.

But I can be quite determined when I want something badly enough, so I worked for a while to fashion a template that I thought was about the right shape and size.  When I was sewing the seams together I realized my curves were a bit off so my case is shaped just a wee bit differently than the original, but it still works.

I've adjusted my template and now that I know how it goes together, this pattern is my new popcorn ... I have more coming. :)

PS:  Floral fabric is available here. ;)

Wednesday
Feb192014

stamps are just all kinds of awesome

Novelty prints (hint hint).

I have a weakness for them ... at least the pretty ones ;)  ... which is why I included this love stamp print in my Blogger's Choice Bundle for Fat Quarter Shop.

I think it's especially cute because:

  • a) who doesn't love "love"
  • b) it's got my favourite mix of pinks & aquas with just a bit of red
  • c) the scale is small and
  • d) I collected stamps when I was a kid. 

If you are younger than ... say, 20 years old and reading this, let me just quickly explain that such banal activities as collecting stamp are what we did in the olden days before cell phones and iPads were invented. ;)

(Do people even DO this anymore?)

I remember playing with stamps for hours, sorting and resorting them by country, size, colour, value, subject matter ... I had a few relatives from England (Shropshire) and Switzerland so every once in a while I'd get an envelope full of cancelled stamps from overseas.  Words can't describe how exciting that was.  To this day, there is nothing I don't love about stamps. 

I got really good at soaking them off of the envelopes, too.  I think that was one of my early lessons in patience ... try to pull one off too early and it's ruined.  But wait until you feel it slide free under your finger ... that was pure satisfaction.

Each one is a tiny work of art, framed with that trademark perforated edge.  I love the diminutive portraits of royalty, heads of state, celebrities & historical figures, flora and fauna, commemorative issues ... lovely artwork of paintings, sketches, sculptures ... whatever .. all in colours and sometimes even sets.  Sigh!  Stamps are just all kinds of awesome. :)

This pencil case is based on my pattern - minus the round ends.  And instead of finger tabs on both ends of the zipper I added a longer ribbon wristlet (11" cut) to one end and a short ribbon tab (1.5" cut) to the other.  Kids love that.  This case has the "stamp" of approval from my almost 11 year old.  (Sorry, couldn't stop that one from coming out.)

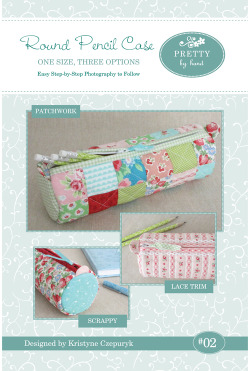
So in honour of postage stamps and this cute fabric (available here in pink, aqua or white), I'm having a 5-day sale on my Round Pencil Case pattern for 25% off, so you can make one too.  I've already reduced the price in my shop so no code is necessary.  :)

Monday
Feb172014

from bundle to bag

I find it surprisingly hard sometimes to execute "planned scrappy" ... hint hint ;).  Have you ever tried it?  Don't get me wrong, I always love playing with fabric.  But based solely on the look of this bag, you'd have a hard time believing just how long I spent deciding what fabric went where and what size to cut each piece. 

But I've barely made a dent in my Blogger's Choice FQ Bundle with this project.  Hmmm.  What to do, what to do.