a blog tour, a new pattern, and a giveaway (oh my!)
 February 13, 2016
Hello hello! And welcome!
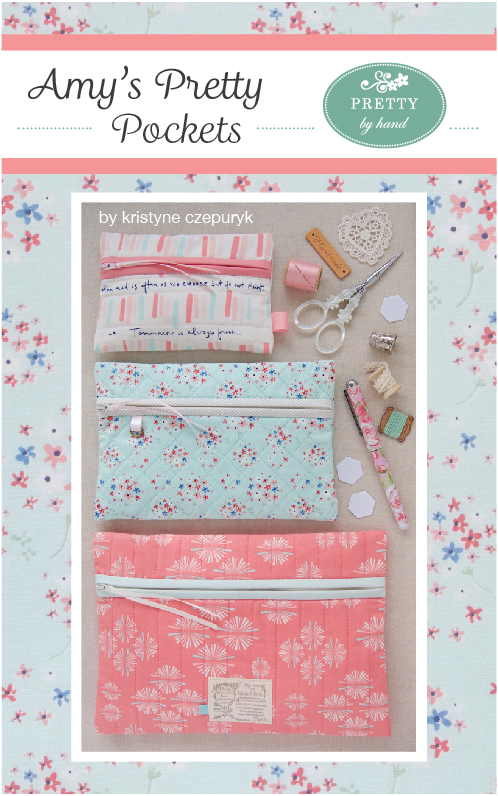
Have you been following this tour? Every day I gasp with amazement at all the lovely creations being made with Paperie. Love them. And the fabric. And my dear sweet Amy. We've been pals since we were both newbie bloggers. (Hey Amy, can you believe it's been almost 5 years now?!) She was the first blogger friend that I met in person. I was an instant fan of her work and style, and an instant fan of her as a super nice person. I'm honoured to call her friend (sorry for being so corny, but it's true). And I know how hard she worked to realize her dream of designing fabric for all of us to be inspired to make pretty little things. So I'm super excited that today is my turn to show off Amy's debut fabric collection, and the pattern I wrote specially for it.
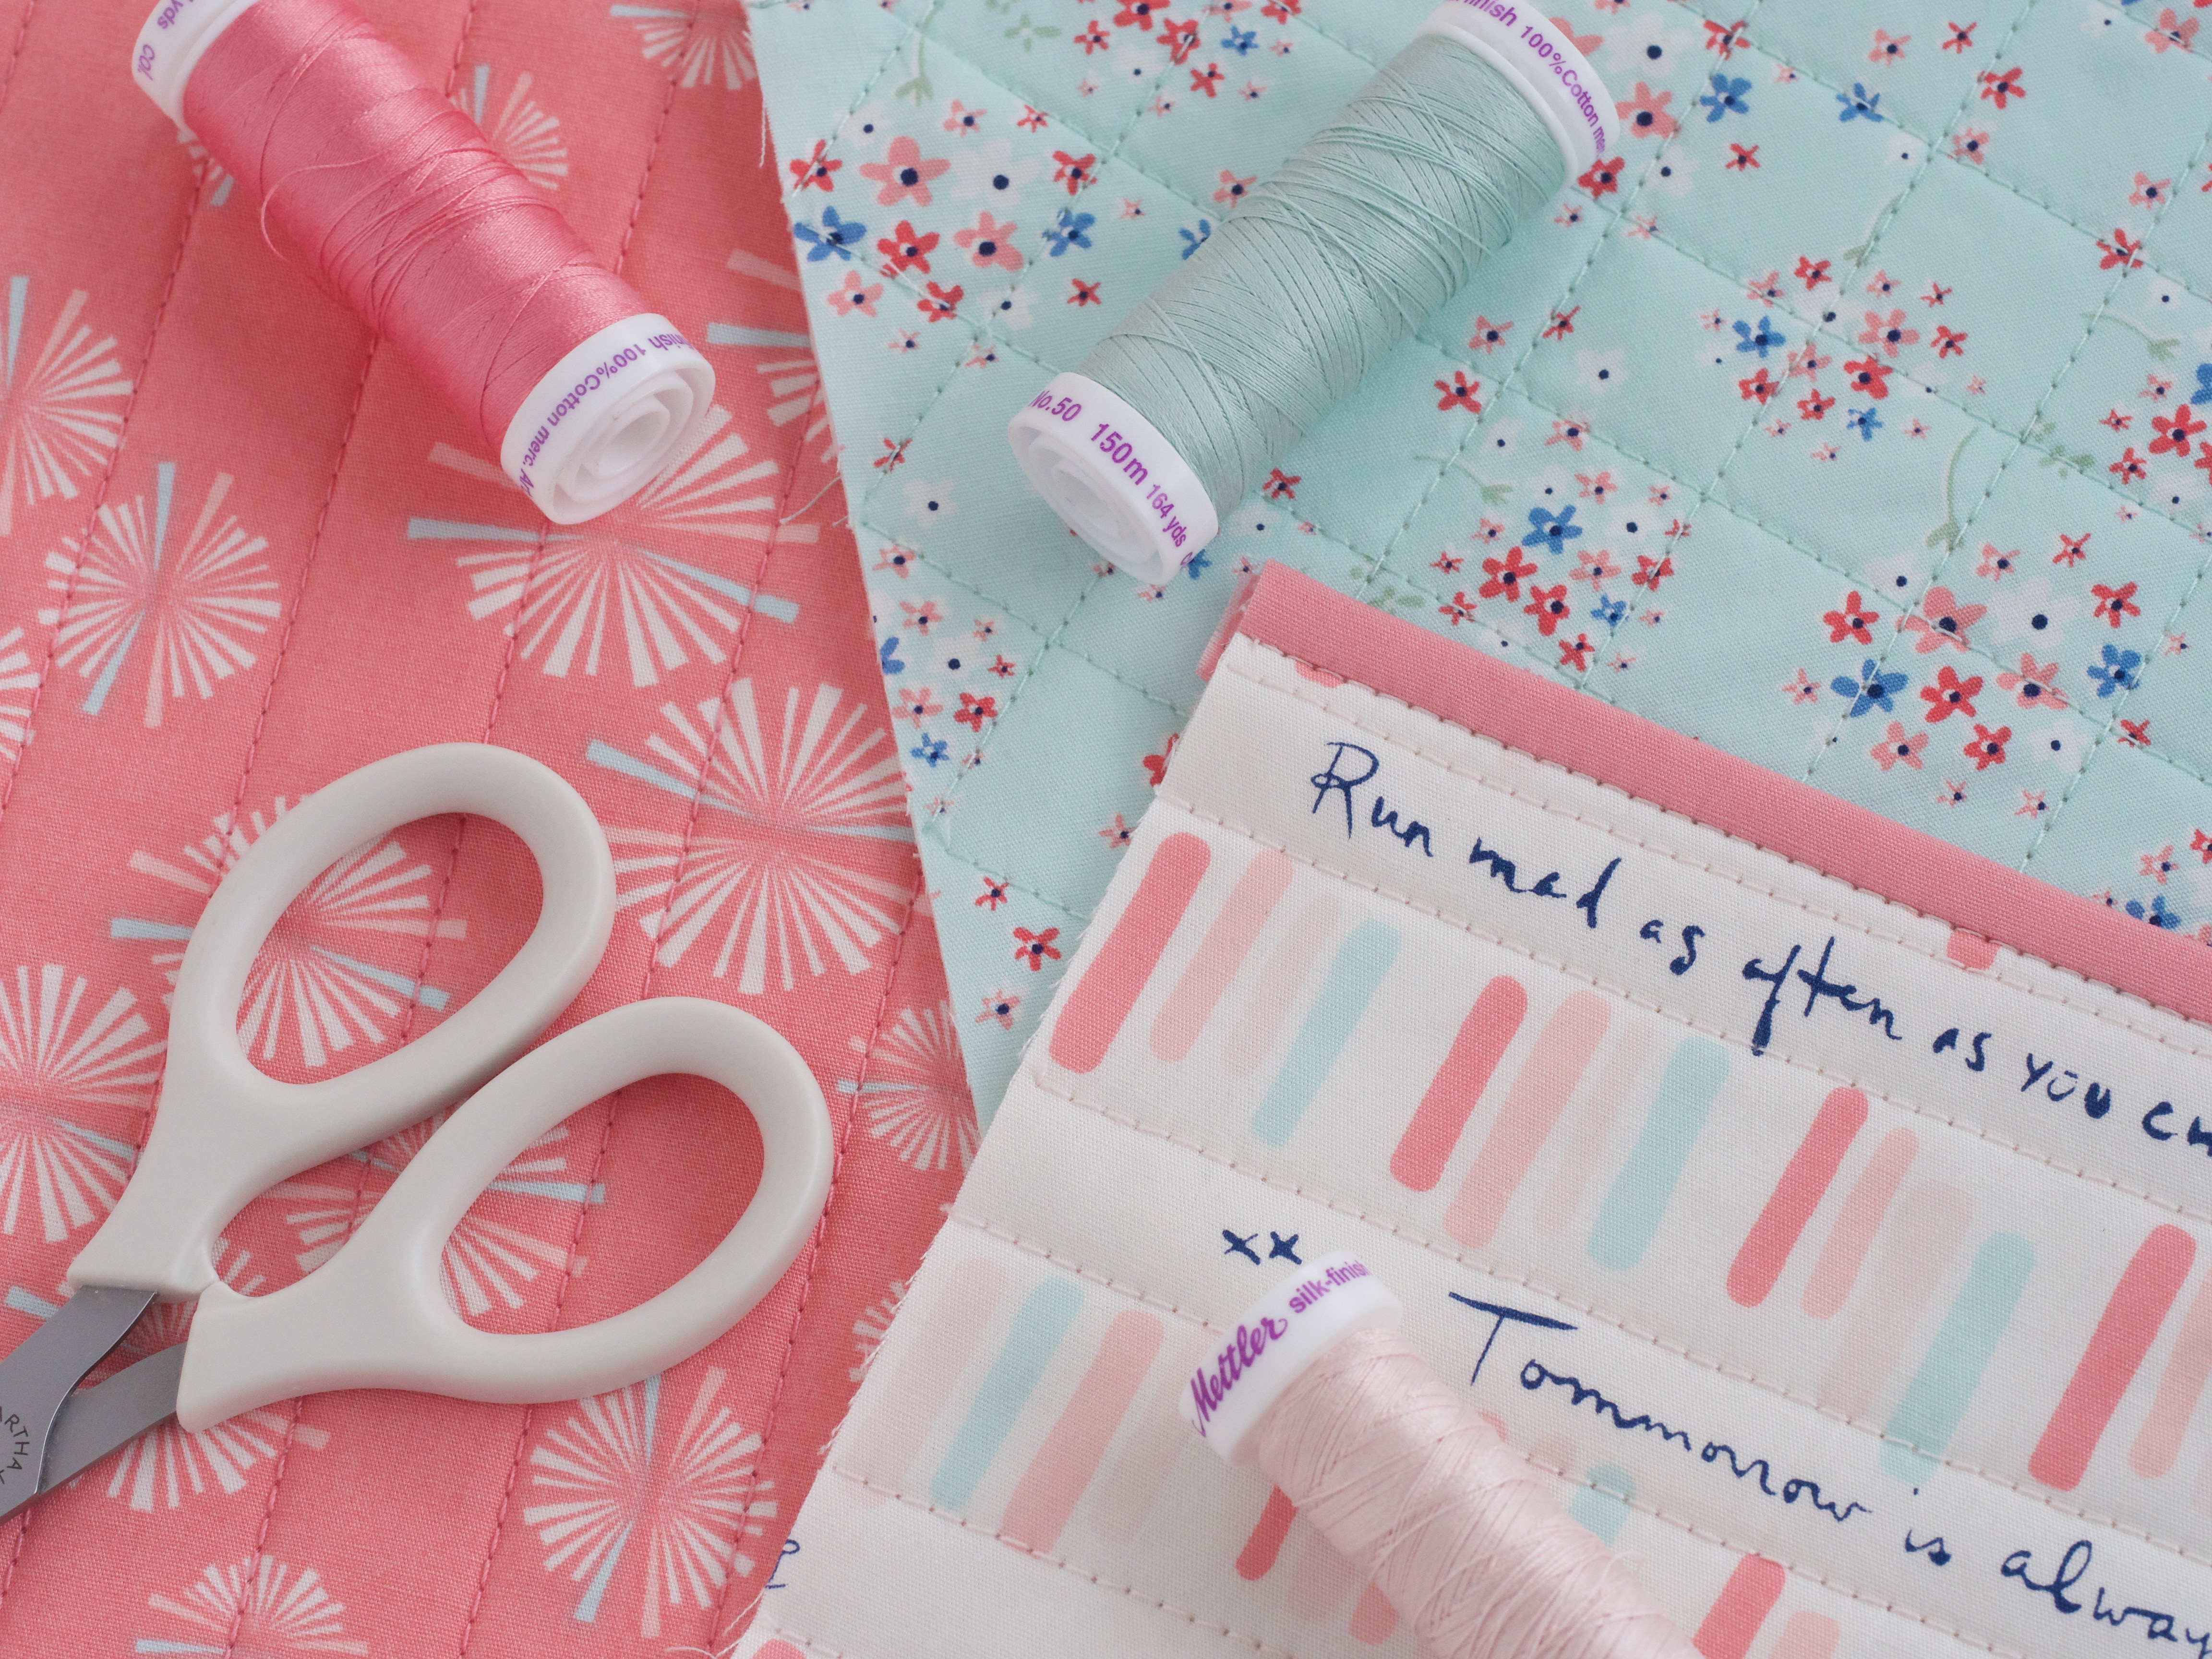
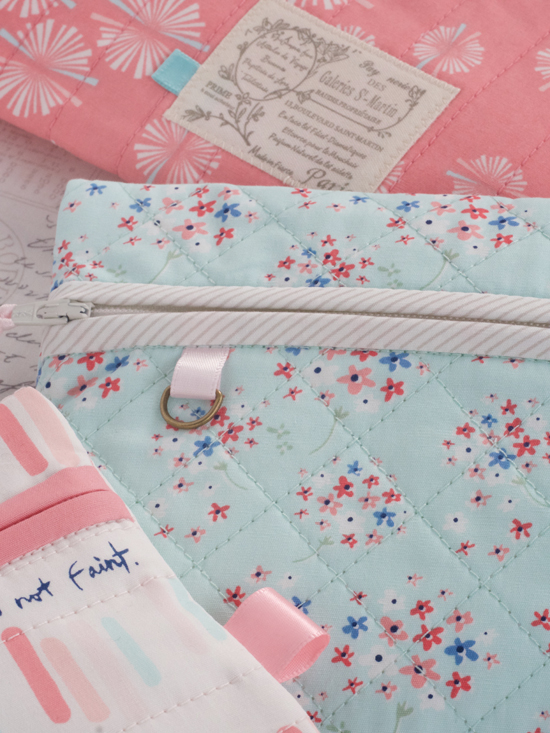
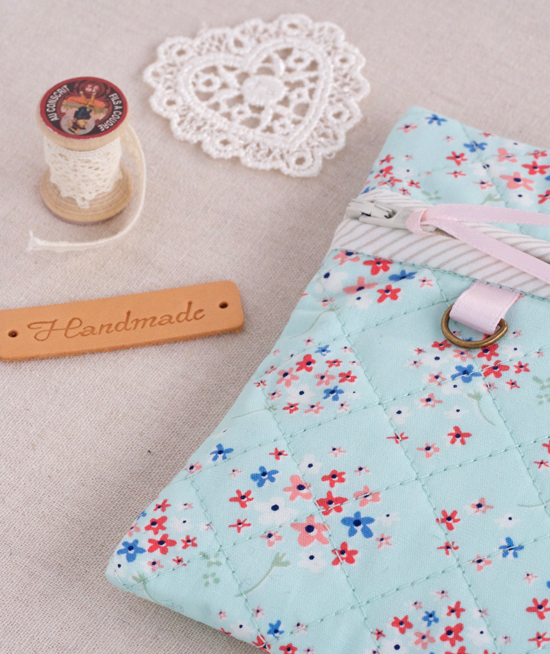
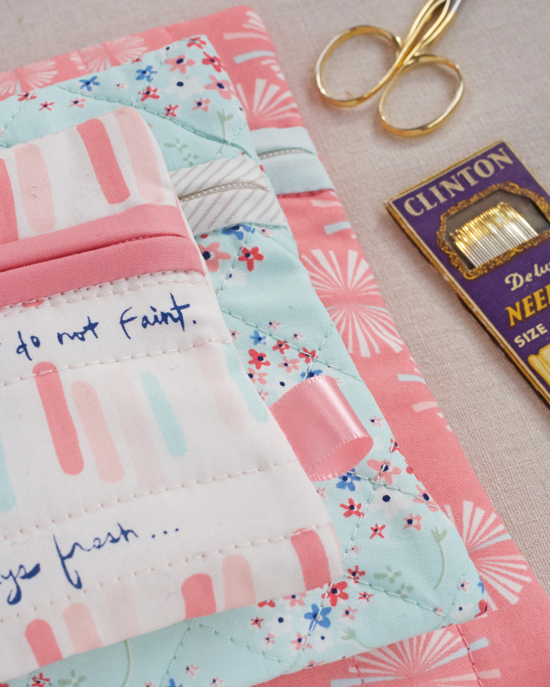
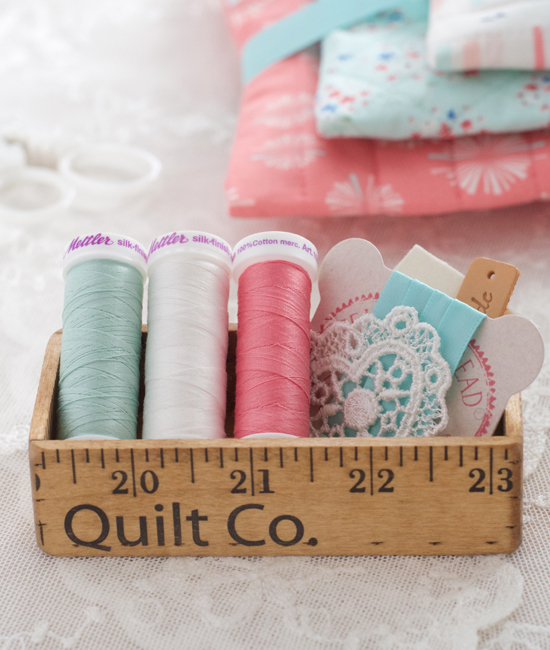
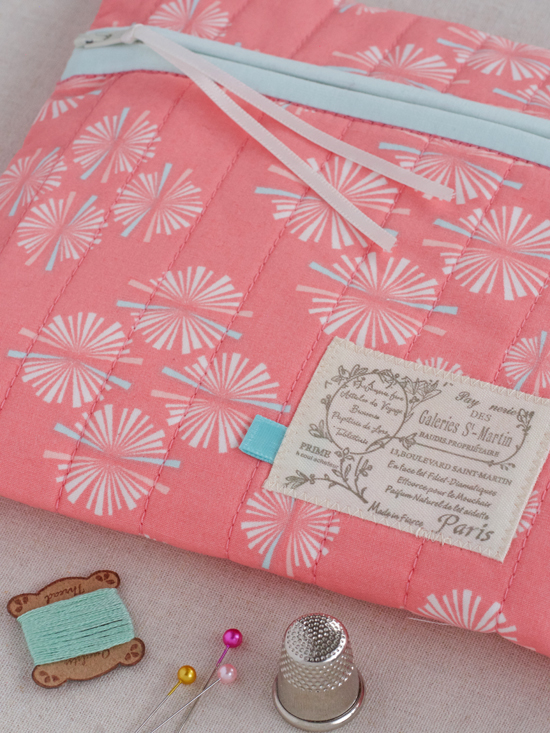
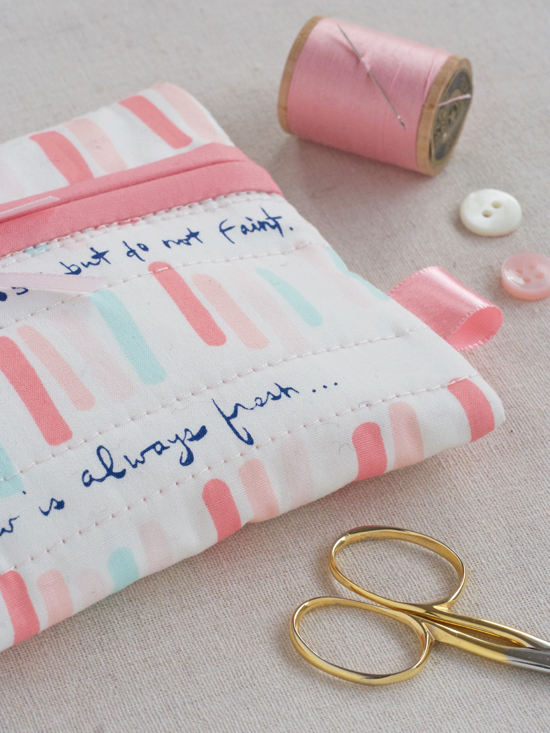
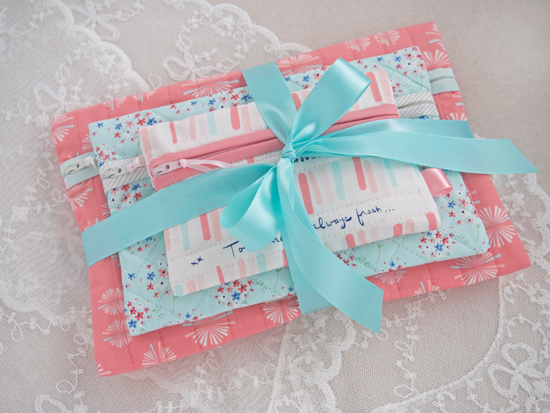
Back Story ... because, you know me ... what's a blog post without a back story? ;)
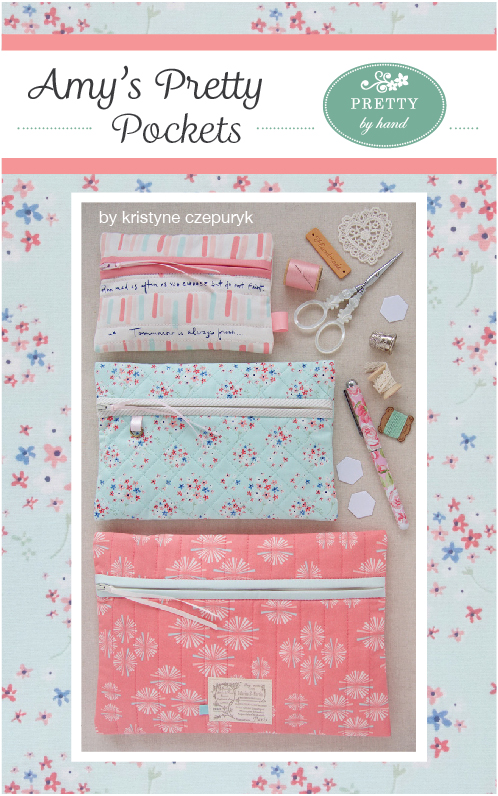
Some 25 years ago (wait, what? seriously? that can't possibly be right! and yet, it is ...) when I started working at a Laura Ashley shop, it was at the beginning of the Christmas shopping season. And like most stores, Laura Ashley shelves were stocked with specialty holiday items designed for easy and affordable gift-giving. One of my favourite such gifts was a little set of 3 cosmetic pouches made in coordinating fabrics and tied with a ribbon. It was always popular with husbands and boyfriends because they didn't have to worry about it fitting. ;)
I gave and owned many of these sets and have been meaning to make them all these years because they are the perfect combination of pretty and practical. In fact, I still have a few surviving pouches that I use for travelling. So this finish feels pretty darned awesome because A) it's finally DONE, B) I got to use Paperie, C) it turned out super cute, and D) now I have my new favourite quick gift to make for daughters, sisters, moms, friends, teachers, hostesses ... ... ... ME!
Sometimes these pouches were made with coordinating zipper binding (as I've made mine) and sometimes they just had plain, exposed zips. Of course the binding takes a little more time and attention, but I think it look so much prettier, and it's more fun for me to play with more fabric.
Consider adding a layer of clear plastic to the lining if yours are going to see some heavy-duty makeup use.
And as with anything handmade, finishing details are the icing on the cake and can be whatever you want them to be. I've shown a few simple ideas here, but you can satisfy your inner muse with patchwork, applique, and embroidery to name a few more ideas.
Pattern is available here. (PDF download only.)
Now I also have a little giveaway today. I had enough leftover fabric and notions to make up a complete kit for someone to make exactly these three pockets. Everything is included - fabric, ribbons, label, d-ring, zippers, and pattern. All you need to add is batting and thread.
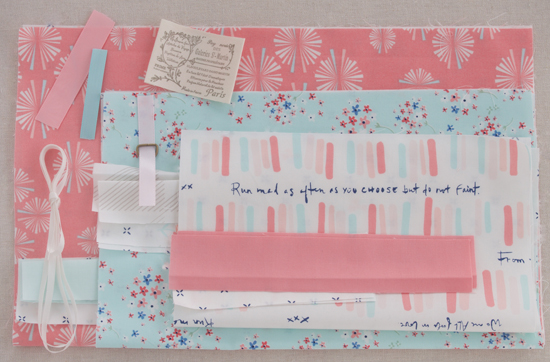
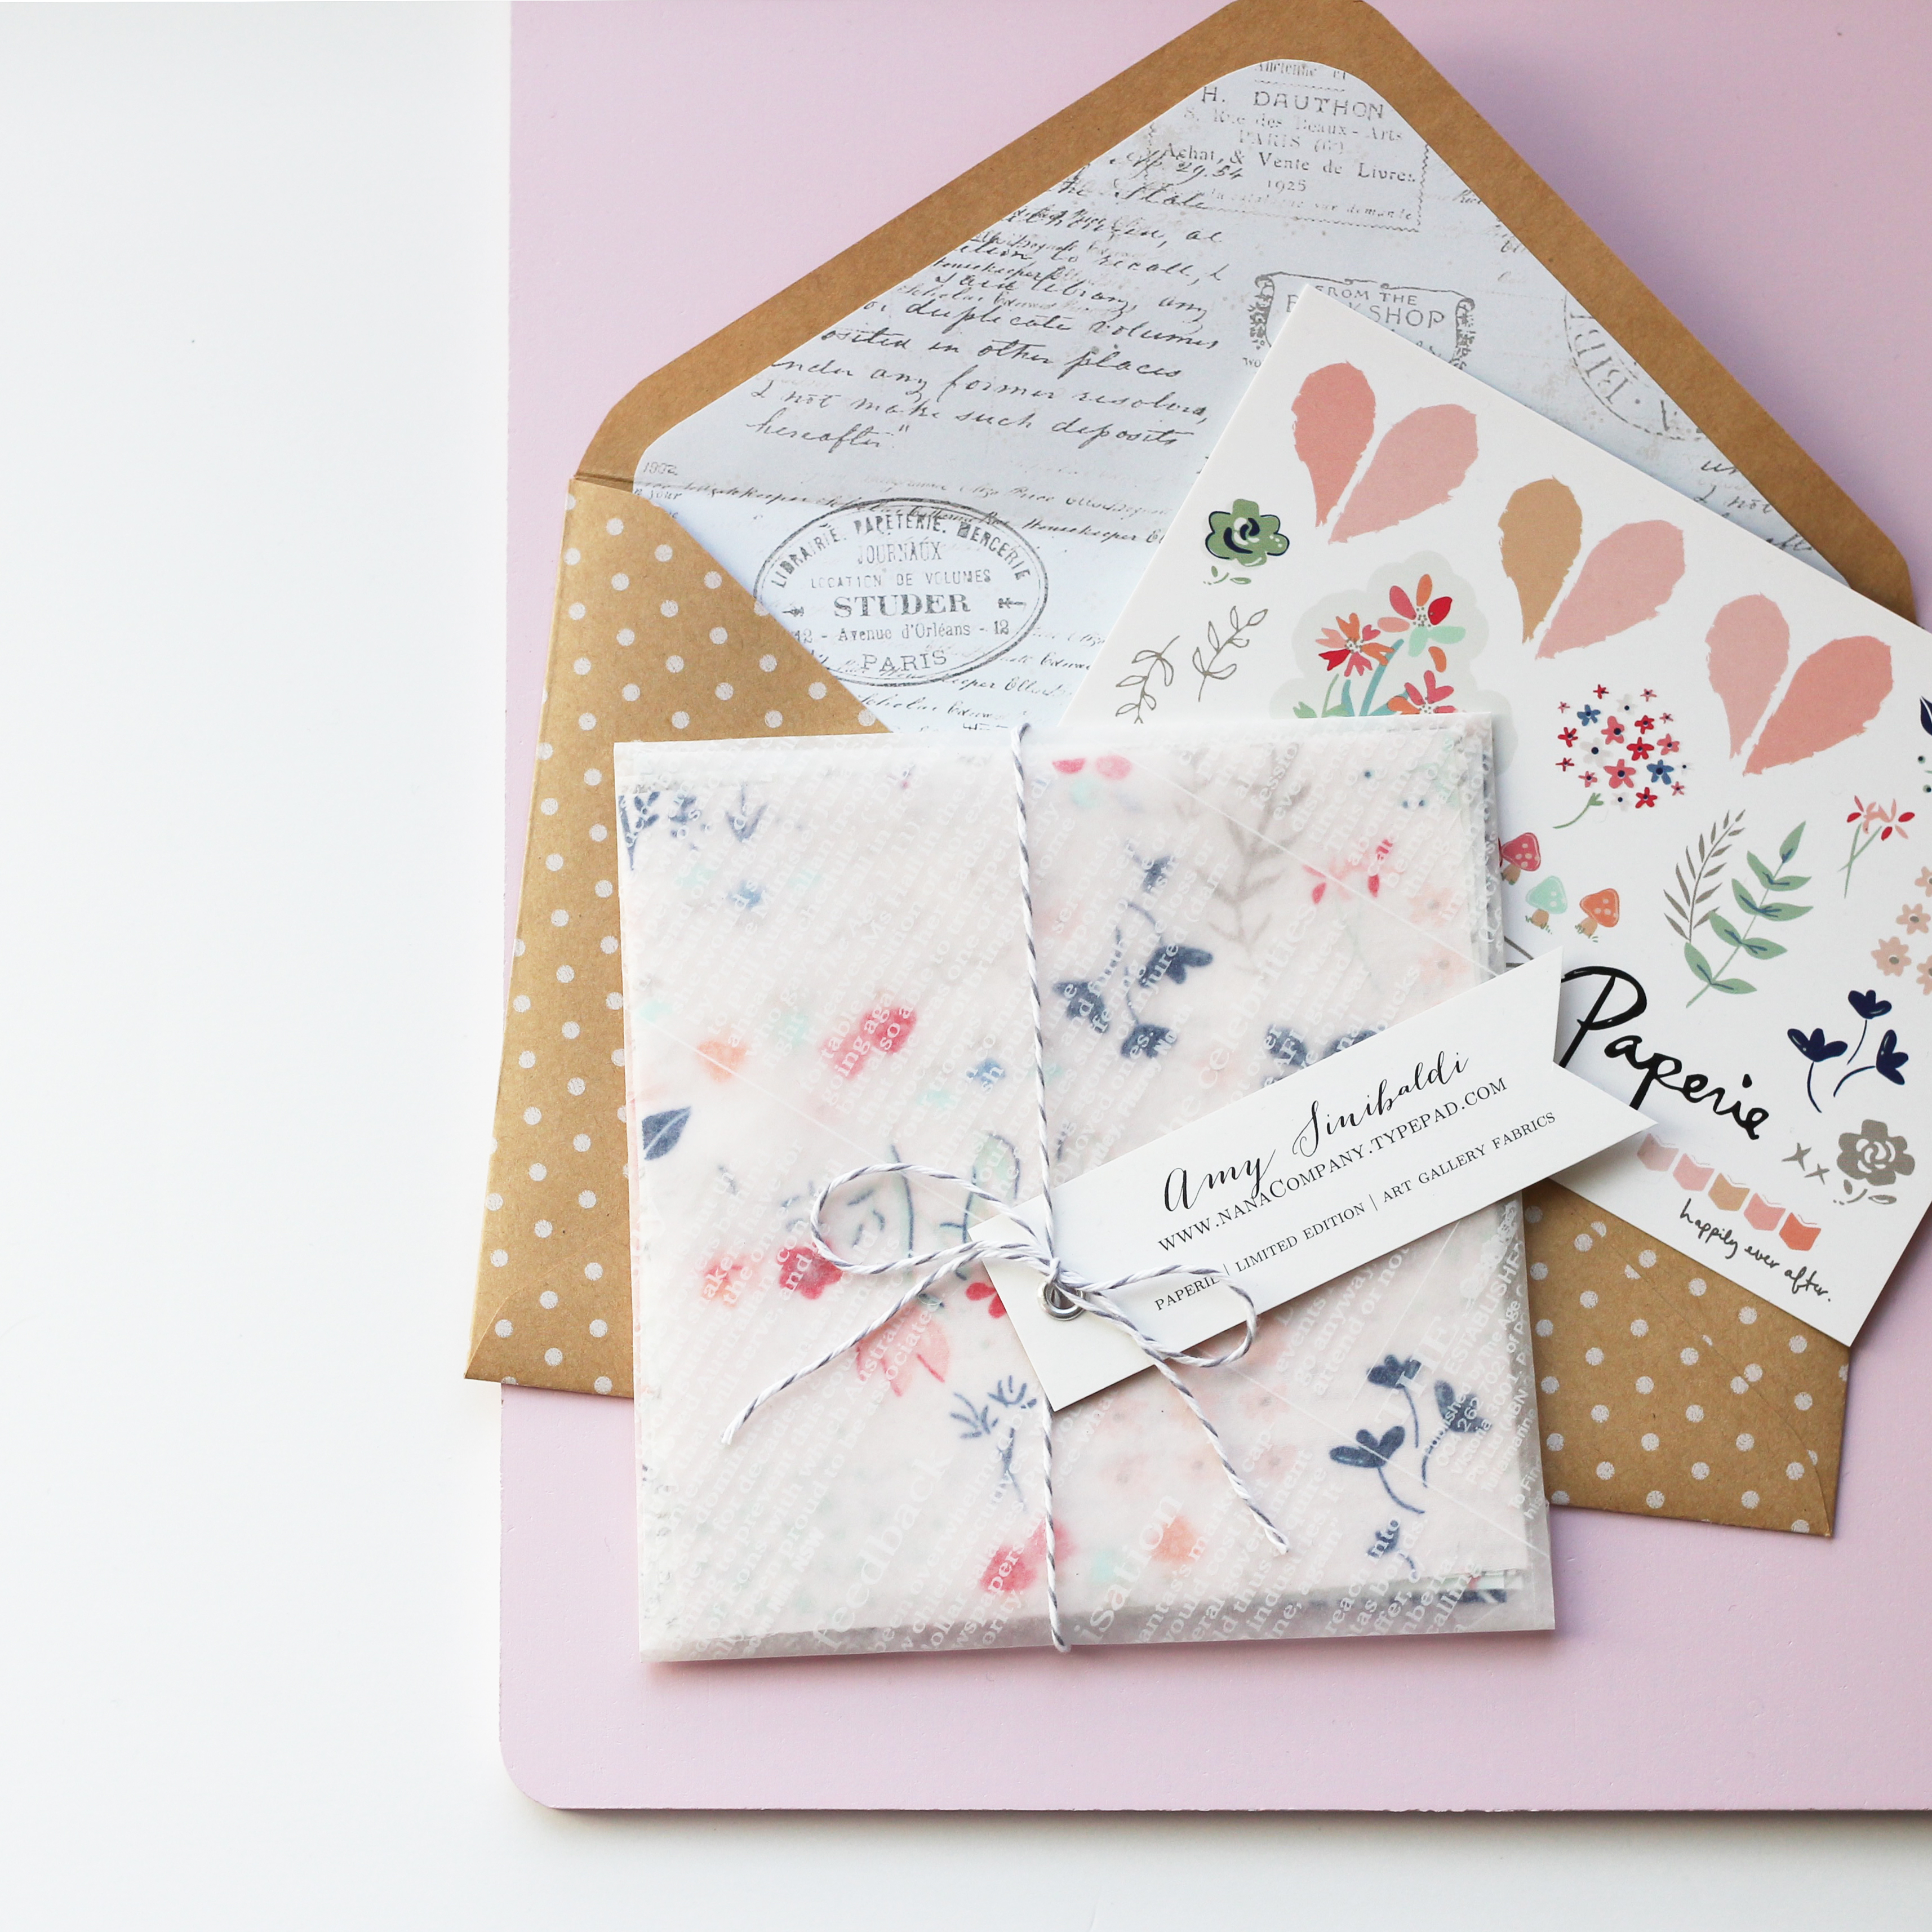
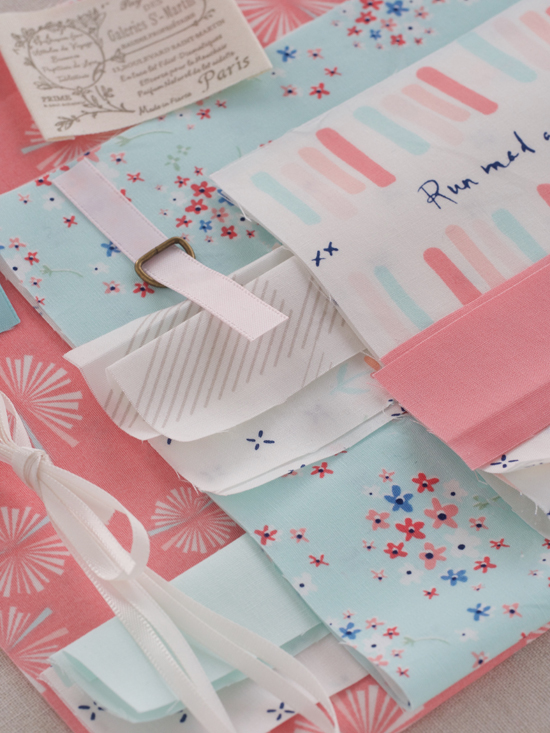 Here's the deal. (I was going to make this exclusive to Instagram, but I think some of you don't use it.) So. If you ARE on IG, like my Paperie post and leave a comment tagging a friend. Just one friend. If your name is chosen, you will win the kit and your friend will win a Paperie charm pack from Amy. :) If you are NOT on IG, then just leave a comment here saying so and you will be entered to win the kit. Anyone can enter, no matter where you live, and entries close Feb 15th.
Good luck! xo k
 Kristyne |
  225 Comments |
Reader Comments (225)
Hope you made my decision.
Just absolutely cutie cute! You are so generous to give away fabric to make these.
I would love to make a set for my youngest daughter :-)