« happy flower qal week 20 | Main | new COSMO lecien thread »
Friday
Jul142017

partial seam pillow tutorial

Last year I made this pillow and I've had many requests to do a tutorial, so here you go :)

For a 16" pillow, you will need:

  • (16) 2-1/2" squares
  • (64) 1-1/2 x 3-1/2 rectangles
  • FQ fabric for backing
  • (2) 4" x WOF fabric strips for binding
  • 18" square of batting
  • 16" zipper (optional, for pillow back closure)

Sew the first rectangle to the square with a partial seam - just sew half way down the side of the square.

Press seam away from the square. Only press the stitching, not the unsewn portion of the rectangle.

Sew the second rectangle to the square and press seam outward.

Sew the third rectangle, press seam out.

Add the fourth rectangle, again pressing away from the center.

Now finish sewing the first seam and press.  Block measures 4-1/2" x 4-1/2".

Make 16 blocks.  Piece the blocks together into 4 rows of 4 blocks, pressing seams open.

Quilt as desired and trim to measure 17" square (leaving extra batting to make a 1/2" bound edge).

Make the pillow back with opening style of your choice. I like zippers, but you could also do a folded opening, use buttons, or ribbons ...

Sew quilted front and zippered back WRONG sides together, and then bind!

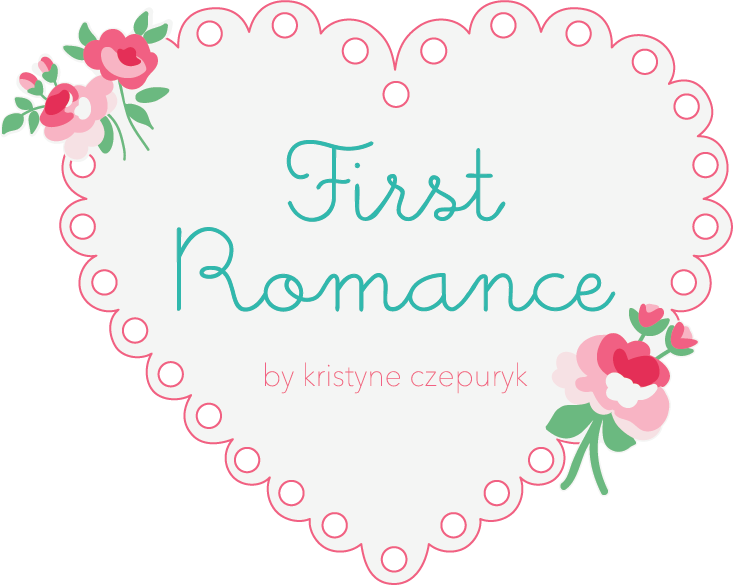
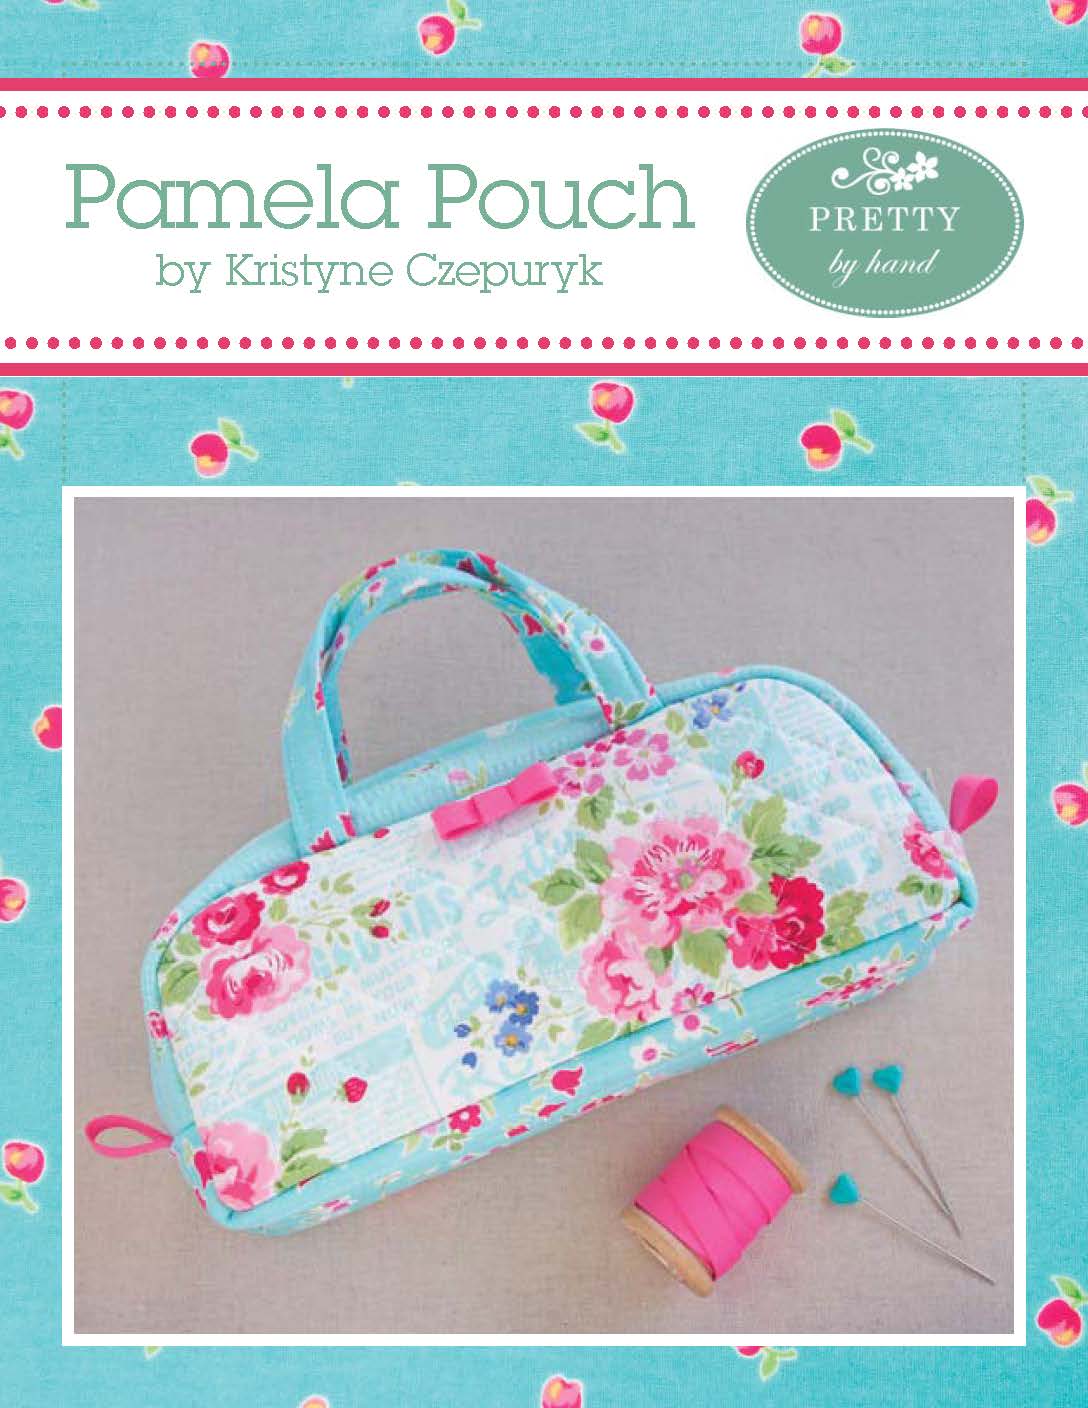
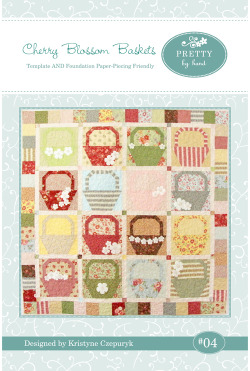
All fabrics shown are from "First Romance" (available October 2017).

Happy sewing! xo k

EmailEmail Article to Friend

Reader Comments (12)

How lovely, especially nice to see it made in your fabrics 😄
Karen x
July 14, 2017 | Unregistered CommenterKaren
This is so pretty yet simple to make! Thank you :)
July 14, 2017 | Unregistered CommenterChristine Sherman
Thank you! I often avoid projects with this type of seam because they usually seem so complicated. This really helps to de-mystify these types of seams. I do have a question regarding the binding because I've never used 4 inch binding. Why is it so wide? Thank you again!
July 14, 2017 | Unregistered CommenterCecilia Midgette
Thank you!! I am so thrilled to see this tutorial...and I sincerely appreciate it! First Romance looks just beeautiful in this pillow...I want to make one just like it! Again, thank you! Hugs❤️❤️
July 14, 2017 | Unregistered CommenterMary Jo Jones
I loved the pillow last year and vowed I would make it one day. Thanks so much Kristyne for the tutorial.. It looks beautiful now in First Romance
July 14, 2017 | Unregistered CommenterJenny
Great tutorial and lovely pillow!
July 14, 2017 | Unregistered CommenterDelcia R.
Those fabrics are so pretty. I love your cushion.
July 14, 2017 | Unregistered CommenterChristine M
Thank you for the tutorial. I've been into making pillows for the last few months for my doctors. This will be a great addition to my collection.
July 15, 2017 | Unregistered CommenterCindy from Sacramento
Thank you so much for this tutorial. I would have avoided it had you not shown us how simple it really is. This is a keeper.
July 15, 2017 | Unregistered CommenterLea
Oh this is so cute.
Thank you bunches for sharing the tutorial!!
July 15, 2017 | Unregistered CommenterRosemary
The cushion looks so cute. Wish I could do something quite pretty as you did.
November 4, 2018 | Unregistered CommenterJennifer David
Hello, I love this pattern but am not able to get it to print out. Do you by chance sell a printed copy of this pattern? Thanks, Kathy.
May 12, 2020 | Unregistered CommenterKathy

PostPost a New Comment

Enter your information below to add a new comment.
Author Email (optional):
Author URL (optional):
Post:
 
All HTML will be escaped. Hyperlinks will be created for URLs automatically.